"EXCEPT THE LORD BUILD THE HOUSE, THEY LABOR IN VAIN THAT BUILD IT"......Ps.127:1a
Showing posts with label Annie Sloans. Show all posts

Tuesday, August 23, 2016

New Home Tour #1 kitchen

It is so hard for me to give a tour of our new home when it is still not the way we are envisioning it.  I realize though that our vision may not happen and if it does, I can share the changes with you along the way.  
The day that we moved in, I started to paint the kitchen.  I had my Annie Sloans' French Linen ready to break open and paint.  I knew it would be easier to paint before unpacking all of my kitchen stuff.  It took about two weeks (with some interruptions and waiting for more paint & wax) to finish the kitchen.  I would paint a section and then unload a box or two.  I work well in steps :)
Here is day one.  
Can you see all the stuff in the background?  
I had stuff and boxes everywhere!
 Would you have unpacked everything first and then painted?
I know, I am a little crazy.
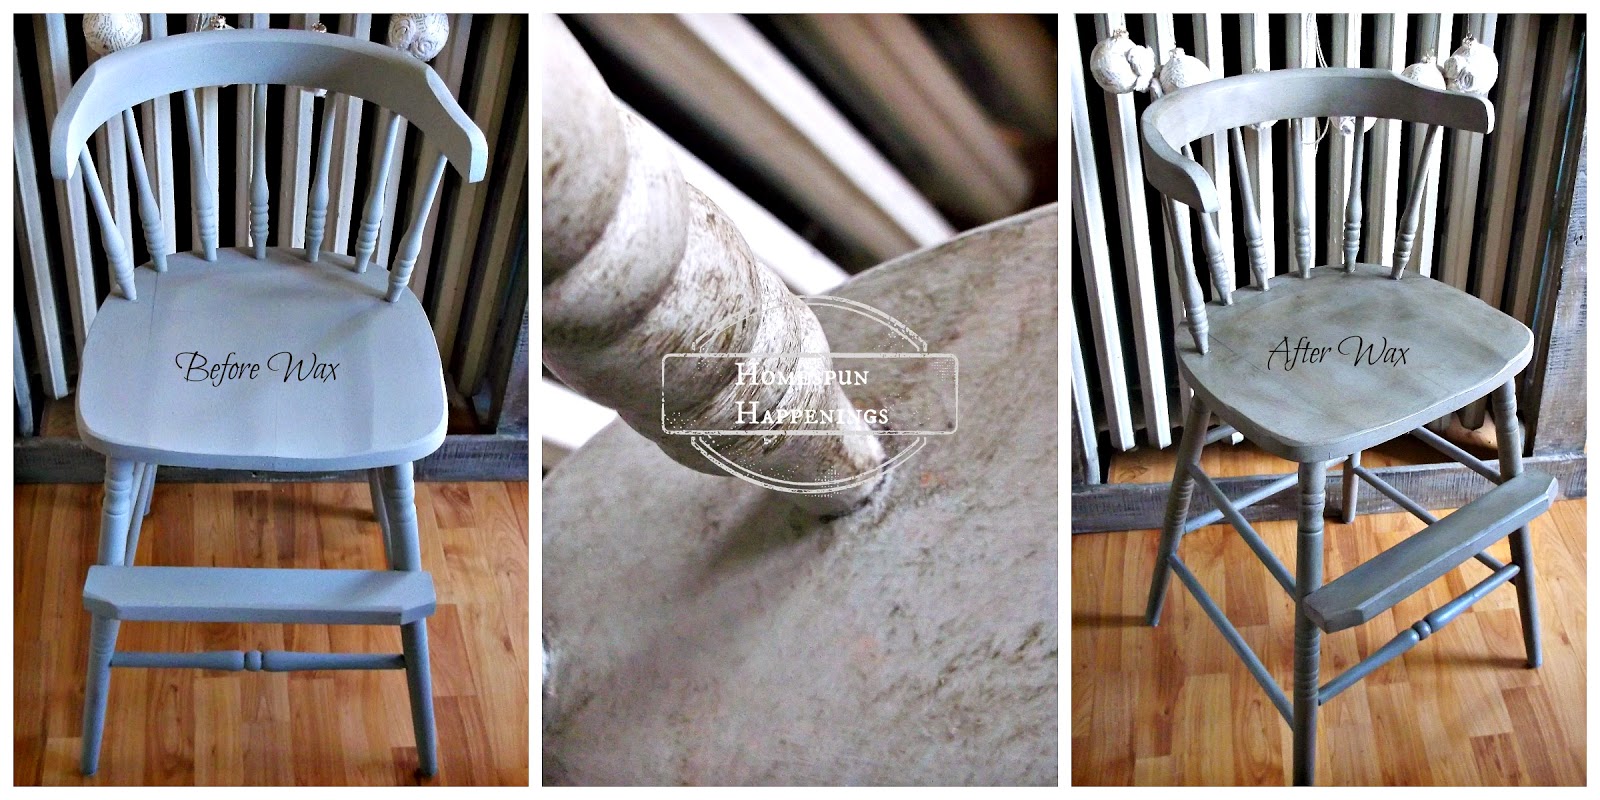
I used clear and dark wax on the cabinets.  I knew from my previous Kitchen Makeover (3 yrs ago in our old home) that I wanted to use Annie Sloans Chalk Paint and Fiddes and Sons wax.  It held up so well in our last home.  In fact, I only had to touch up where fingernails dug into the cabinet around the handles.  
Here is a good pic of the color and the hardware I used.
The hardware was from Lowe's.  I decided not to put any hardware on the cabinets, because my son counted all the cabinets and I had 34 cabinets to paint--not counting drawers.  I wasn't going to pay for all that hardware.  We'll see how things hold up.  It has been about a month, and so far no scratches or chips. 
 Finally here are the before and after pics.  
The "before pics" were taken during the inspection of our new home before purchasing the house.
This is the view as you enter the kitchen from the front of the house.
Sorry for the not-so-focused pics.  It is so hard to photograph this house. 
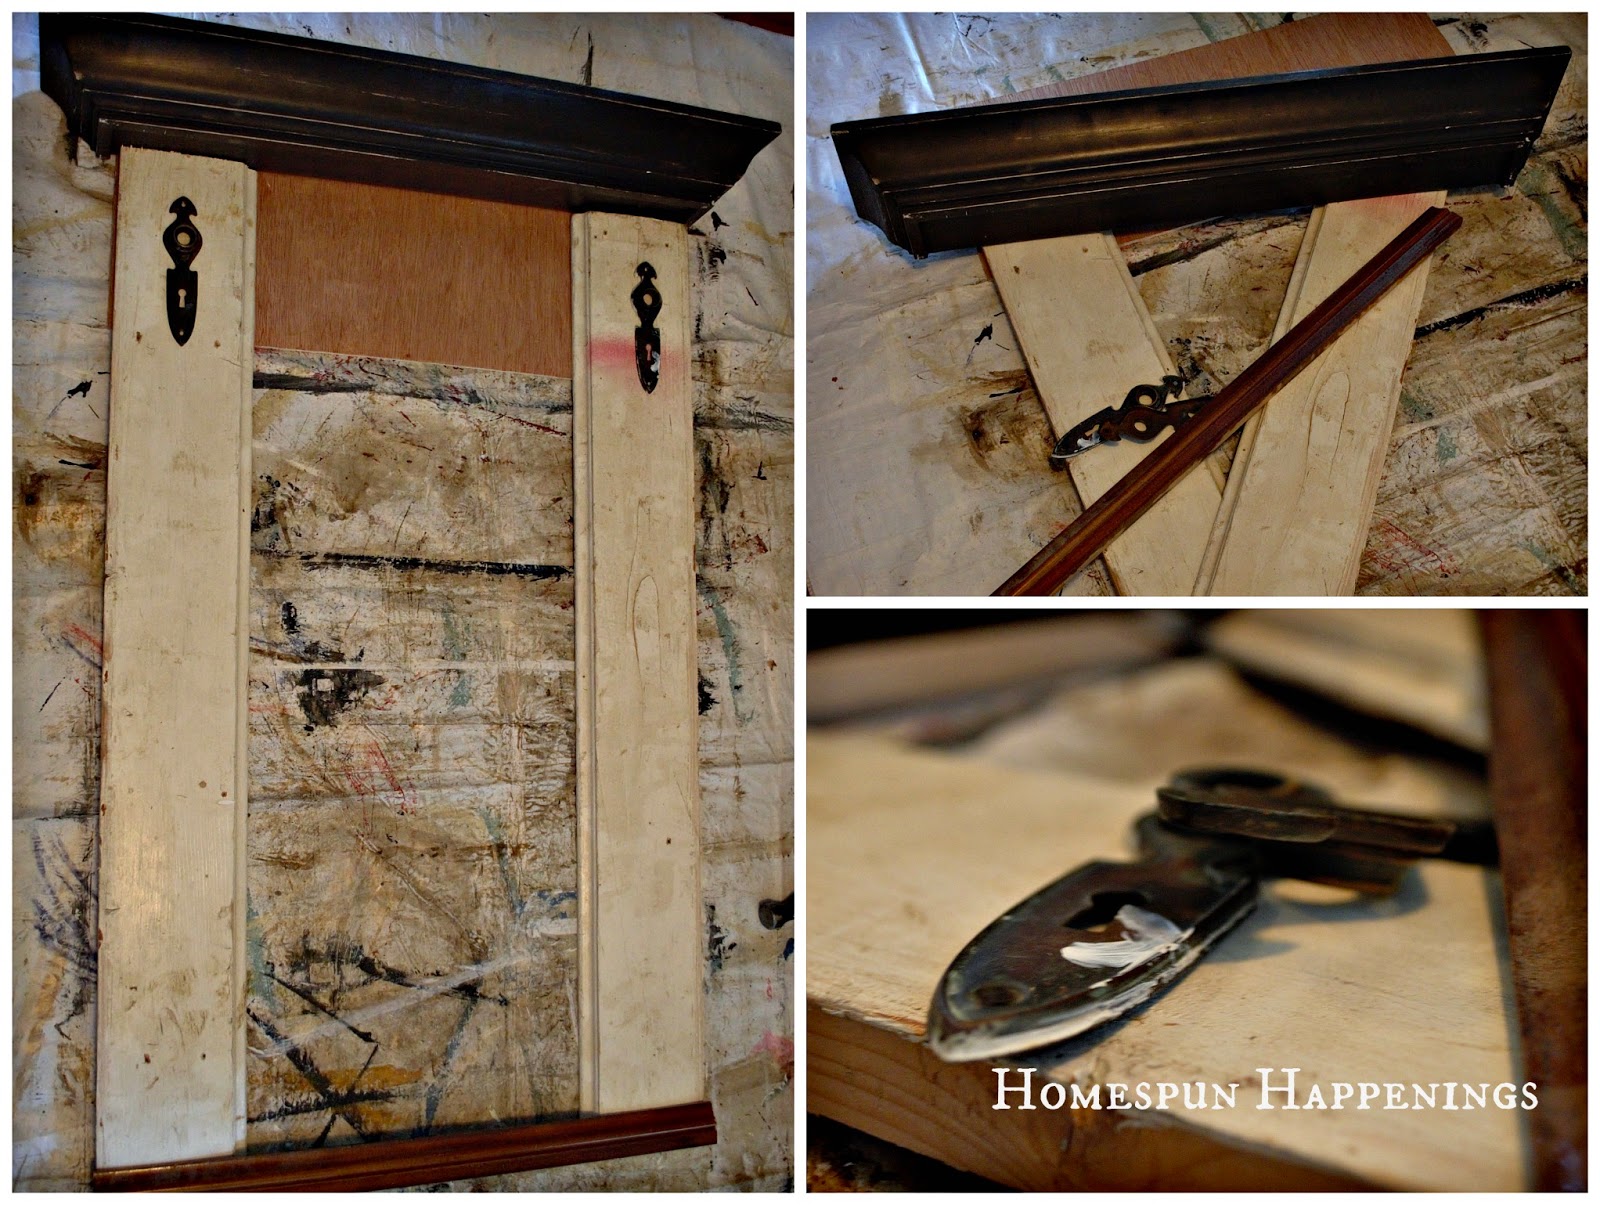
I bought some panel board and made panels for the doors with windows. 
 This is the view as you turn left when walking into the kitchen.
I found these paneled doors left in the garage.  They did not match in color, but you never would know it now.
 Finally, This is the view from the mudroom entrance.
I still need to finish painting those cabinets in the hallway.  I ran out of paint.  I also need to paint the wall next to the fridge.  I am debating about what I want to do with the back splash.  I think I like the white and will probably just keep it that way for now.

I will try and post a new room or area each week.
It has been very fun personalizing our home.
I know a lot of you out there really don't like a dark kitchen and may be cringing at the dullness.  I guess I just really love Linen.  I had white and was ready for a change.  I am really happy with the way it turned out.

Tuesday, October 27, 2015

Salvaging a Display Shelf

Every year I wonder how I am going to display my crafts for my open house.  If I have a cabinet, it usually ends up selling before my sale ends.  I was thrilled when hubby told me there was a shelving unit,out for trash, I might want .  When he brought it home, I was less thrilled.  The whole bottom was molded.  I instantly thought, "He took the time to go get this thing, you are going to salvage it!".  I asked hubby to cut the bottom completely off, and please help me build a bottom out of scrap and pallet wood.
Here it is.

I painted the whole thing in Annie Sloans' Old White to match my other display pieces for my Craft Sale.  If you notice, the shelves have a hole in them.  They get Plexiglas laid inside them. 
Well, the Plexiglas was all scratched up, so I wanted to cover them.  I decided to glue brown paper over them.  I am not thrilled with it, but it is just a display piece and will be covered.  I did not want to waste anymore paint on this thing so....
...here is the final product!
Nothing fancy, but will work perfect for me.
After all, it was FREE!

Tuesday, August 4, 2015

My Kitchen Table Redo

My kitchen table was starting to show some wear. The poly was coming off from so much use. Now normally I would have welcomed it and kept it looking aged, but I didn't care for the oak color.  I like the dark walnut look.  I wanted it to match my kitchen island.  
The legs were painted black before.
Sorry for the dark pic, it was the only before I had.
Hubby sanded it down for me!
What a sweety :)
 It sat unfinished for almost a week.  
I really liked this look, but I knew if I put a clear coating 
on it it would look oak colored because it is oak.
 I put on two coats of stain and three coats of Waterlox sealer with a brush.
 I painted Annie Sloans Old White over the black legs and apron. 
I waxed it with light and dark wax.
 Here is the new top.
 Now you can see how it blends in with my island.
The farm table look I always wanted.

Friday, January 9, 2015

A Little Freshening Up

I decided this year to keep some lighted "greens" out through the winter.  The days get so long and can be dreary, but I love the soft white lighting at nights.  That is something I know I can't appreciate come spring and summer, so I wanted to make the most of the coziness while I can.
I liked having the black mantle under my shelf during Christmas. Realizing the mantle was about the same height as the cabinet that usually sits here, I knew I wanted to get out the Annie Sloan's Charcoal and Dark wax and paint it.
I had painted the cabinet a stone color 12 years ago when I bought it.  The kiddos had colored on it with crayons over the years.  I thought it was time to freshen it up.
This is the only before pic I had. It is from my phone.  I was actually taking a pic of my son sleeping hence the big feet in the middle of the cabinet.
The cabinet looks darker than what these photos show.  
ASCP Charcoal is not black, however when you wax it with Jacobean wax it darkens it up to a nice black.
 Sorry this photo gave it more of a blue tint.
 Here is what it really looks like.
 I do love the change!
I did not paint the inside of the drawers, so I still have the memory of my son's art work in one drawer. :)
Happy New Year!


Saturday, December 6, 2014

Cute Find

My hubby found this cute child's high chair along side the road.
I took a quick pic of it before I really got into painting it.
I used Annie Sloan's French Linen.  
I just love not having to sand pieces before painting.  I also like waxing, because it doesn't take forever and a day to dry (unless you are working in warm or muggy temperatures...winter time is perfect)
Such a cute chair!
I personally love the primitive look that the clear/dark wax gives.
It sold!

Wednesday, November 26, 2014

Building a Display Mantle

My kiddos had been trying to persuade me to build a mantle for displays at my craft sale.  I truly wasn't inspired to build anything.  To be honest I was quite overwhelmed with all that I needed to do to get ready for the sale; I was not wanting to add any more projects to my list.
Until....
Two days before my sale, I came across this shelf and BOOM!  My creativity kicked in.  My son and I went out to the garage and found some trim that was given to me and some wood scraps. :) I also remembered that I had asked my son to take some hardware off of an old door. Now it was time to put it together and paint.
I used Annie Sloan's Graphite and waxed it with dark wax only.  I knew that Graphite was not going to be black enough for me.  I truly love the way it turned out.
It is perfect!
I hope you all have a very
 Happy Thanksgiving!

Wednesday, March 5, 2014

Annie Sloans to the Rescue...Again

My bathroom needed a little brightening up.  The brown striped curtain had to go considering I splashed bleach all over it and a lighter curtain was needed.  I bought a cute white curtain on sale at Khols.  Plus I used a gift card, so it was basically given to me :)  I knew with this pristine white curtain, my Rubbed Bronze rod and rings that had gone rusty would bleed onto the curtain.  I didn't want to have to buy a new rod and rings, so out came Annie Sloans Old White.
I did a total of two coats, and of course I wanted to use dark wax with the clear.  I do have a picture frame and shelf in my bathroom that matches.  I am so very thankful at what a little transformation with paint can do to a room.
 So light and so airy....
Thinking Spring!!

Friday, November 8, 2013

Are You an Old Country Crow?

"The New Caledonian Crow has been intensively studied recently because of its ability to manufacture and use its own tools in the day-to-day search for food.  These tools include "knives" cut from stiff leaves and stiff stalks of grass. Another skill involves dropping tough nuts into a trafficked street and waiting for a car to crush them open."
I guess I could say I am a bit of an Old Crow using the things I find around my house or around town to help make a little extra $ to be able to go out for a nice meal or buy a little something that I really don't need.
I took this little basket and added some country flair.
I wanted to tea-dye some paper to age it.  
For those of you who have never tea-dyed anything, it is simple.  I took some step by step pics.  Heat up some water.  Dip the bag into the hot water and when the water darkens, the tea bag is ready to dye.  I usual let my paper sit in the puddle of tea so that the edges get nice and dark.
I Mod Podged some burlap onto the basket, and when the tea-dyed paper dried, I Mod Podged over the burlap. 
When all was dried, I waxed the whole basket with clear and dark wax.  I love the wooden handle!
Another simple basket ready to sell!

Friday, November 1, 2013

A Tisket, A Tasket, A Little Old White Basket

This cute unfinished basket was needing some character.
I wanted to paint the bottom in Old White and stain the lid.
I painted the inside and outside of the bottom of the basket.
Next I stained the lid with Dark Walnut.
When it dried, I waxed the lid with a clear coat and buffed.
It turned out so cute.

Happy November!

Wednesday, October 23, 2013

A Little Brightening Up

It has been a long time since I bought this tray and intended to do something with it.  I have been using it as is for about two years.  It was fine the way it was, but when I painted my kitchen, I really wanted to paint this tray.  I was looking for a coffee sign from The Graphics Fairy.
Finally I saw this new graphic last week and knew it was perfect!


I painted the Tray with Annie Sloans Old White to match my kitchen.
I only wanted the coffee part of the sign, but I really liked the 'Spices' part of the sign too and decided to add that.  I transferred it onto my tray using my charcoal pencil method.
I then waxed it with clear and dark wax.


It looks so pretty now.

Do you have a favorite tray?

Friday, October 18, 2013

What To Do with These Shelves?

I have had a couple of people who really want me to paint some signs for them.  They want scripture signs.  I know I love having little reminders around my house of God's Truth and Promises.  I was given these knick-knack shelves a couple of years ago, but I really didn't know what I wanted to do with them.  I decided to add a backing to them, frame them, and then add a verse.
 I am so glad I saved all the extra trim and junk boards.
 I primed it with Annie Sloans Old White, and then I made the mistake of painting the shelf and frame black.  It looked awful and cheap.  Since I had little patience left I painted over the black with the Old White, but the black wasn't quite dry.  It turned into this distressed gray color.  
PERFECT!!
I love when mistakes turn into solutions.
 I went over to the Graphics Fairy and picked out a floral boarder. I used the charcoal method to transfer. With permanent India ink and a calligraphy pen I traced over the design and added a little vine here and there.  I then transferred the verse the same way and went over it with a Sharpie Paint Marker.
I let it dry 24 hours before I clear waxed the whole thing.
This one is a gift for a friend.
I have two more that I want to make for my sale in November.
Have a great weekend!