"EXCEPT THE LORD BUILD THE HOUSE, THEY LABOR IN VAIN THAT BUILD IT"......Ps.127:1a
Showing posts with label Charcoal Method. Show all posts

Saturday, January 13, 2018

A New Year and a Sign For a Friend

Happy 2018 everyone!
I know I am a little late. I hope you all had a wonderful Christmas!  I really enjoyed the season this year. It was so nice to actually enjoy our family, our friends, and our home.
One of my favorite things this Christmas was having a fire in our fireplace.
 It was the first time we used our fireplace since we moved into our home in 2016.  It was wonderful just sitting there with the hubby and kiddos, listening to Christmas music play in the background.
~
The holiday season passed by quickly, and we found our selves in the longest cold snap.  We found out some pipes in our house do not like it when the temps drop below 0 degrees...no major problems though.
We recently enjoyed some warmer weather; with that came an energy in me to finally work on a sign that a friend of mine had been ever so patiently waiting for.
I glued two boards together, sanded it down to the natural wood, and then let her choose between the stains that I had on hand.
I am not a natural at calligraphy, so I must cheat with fonts on the computer. (Using the Charcoal Method)
When I printed the words off, the spacing didn't look like it was correct between the letters in the word Tractor. In this pic (above) you can see that 'Tractor' doesn’t quite look right, and I was hoping to fix it as I applied the paint marker, but I really didn't do a good job. 
This is why special orders make me nervous.
HOWEVER
My friend was sweet enough to like it no matter my flaws.


Wednesday, May 21, 2014

Using an Old Picture Frame

Hello everyone!
It has been too long since I wrote a post.
Oh how I've missed creating!  Now that the weather is better, I think my mind is beginning to work again.  I have been busy with orders from some friends.  I would like to share with you this special order.  Someone asked if my son could draw a tree on one of her signs, making it extra special.
She also wanted it framed.  since I am no good at making frames, the cheaper and most sure way of having one was to shop at a second-hand shop and buy a unique frame for $.99.  I glued and nailed a thin wood board to the back, and I painted it with Annie Sloans Old White.
Now, Here goes the true talent.  I watched my 14 year old son go to work.  He is absolutely talented, and I am not just saying that because he is my son.  The Lord has blessed him amazingly in the sketching realm.
 Here goes the not so talented, let's print off the computer, and trace our letters person....Me.
I used the charcoal method that I shared with you all HERE.
Here it is before I waxed it.
And here it is after some clear and dark wax. 
 I am sure she will love his tree.


Friday, January 17, 2014

A Comforting Verse

Sometimes we think that we need more than what the Lord has given us.  We seek help from friends, family, and our own talents.  It is so comforting to know that the Lord has provided enough Grace to forgive, to strengthen, and to provide for all our needs.
Here is a little sign I made for a dear friend.  One whom when I needed help, I would seek her wisdom.  Instead of giving me a good pat on the back, she would always point me to what the Lord can and will do for me in my situation.  
What a great friend! 
 Coloring on the back of the papered image with my charcoal pencil, I transferred the image first onto a piece of pallet wood and then centered and transferred the verse above the image.  I only traced enough to outline the image, and then I filled in the detail with a calligraphy pen and permanent ink.
 I used my Paint Sharpie Marker to do the lettering.
Hopefully seeing this verse will be an encouragement to her as much as she has been an encouragement to me.

Sunday, November 17, 2013

Don't Throw Away the Old Wood Fence!

I made some of these stockings last Fall, but I thought I'd share with you some shorter ones I made this year.  This is a great use for that old fence you may have thought to throw away.  
I cut the fence board at angles so they looked like stockings.
Using some mustard colored milk paint, I painted right over the fence boards.
I transferred the letters for the word 'JOY' so that they were not even.
To protect it, I waxed it with clear and dark wax.  I love what the wax does to the milk paint--deepening the color.
Using some craft wire I attached the two boards together.
Here are the finished products in mustard and burgundy.
I used a white paint marker for the burgundy stocking.
So don't throw away that old fence--well at least not all of it :)

Tuesday, November 5, 2013

My First Attempt at Homemade Chalk Paint

So I finally tried to make my own chalk paint.  I went over to DesignDreams by Anne and used her chalk paint recipe.  However, after I had already mixed it, I found out she wasn't satisfied with her mixture.  I on the otherhand must have done something right, because my paint turned out perfect and stuck to the shelf like I had hoped.  I only used my homemade chalk paint for a black base coat on this shelf.  
I used my Union Blue Milk paint for a top coat.
In the bottom right pic you can see how the Milk Paint lightens up in color as it dries.
Here is the shelf before I waxed it with clear and dark wax.
I put a verse on the shelf using the Charcoal Method.
Finally I waxed it with clear and dark wax.  I love how rich and deep the blue looks with the wax.  I had a hard time photographing the shelf, but I was able to capture the true color in two shots below.
As far as making my own chalk paint, I think I like Annie Sloans better :)  I do like the fact that I can make my own chalk paint--it was just a little lumpy.

This is another piece that will be sold at my sale.

Saturday, October 26, 2013

A Simple Shelf

Oh Happy Fall!
I am loving the cooler weather.  However, I am one that doesn't like to turn the heat so early in the year, but it just got too cold!  I couldn't function at times!  Maybe my circulation is bad or I am just getting old.  Either way I broke down!
I am slowly getting some things finished for my sale.  It is so slow going.  I feel like my time is zooming by!  I decided to paint on two shelves just the way they were.  I finished one; I have one more shelf to go.
With this shelf I decided to use some mustard color milk paint.
This color really reminds me of Fall :)
I painted a black layer underneath the milk paint so that the black would come through.
I added a little verse using the charcoal method.
Then I waxed the wole shelf with clear and dark wax.
I love how rich the color became after I waxed it.
Since I mixed up more paint than needed for one shelf; I was able to use the rest of the paint on a couple of more projects that I will share with you in the near future.
Enjoy the rest of your weekend!

Wednesday, October 23, 2013

A Little Brightening Up

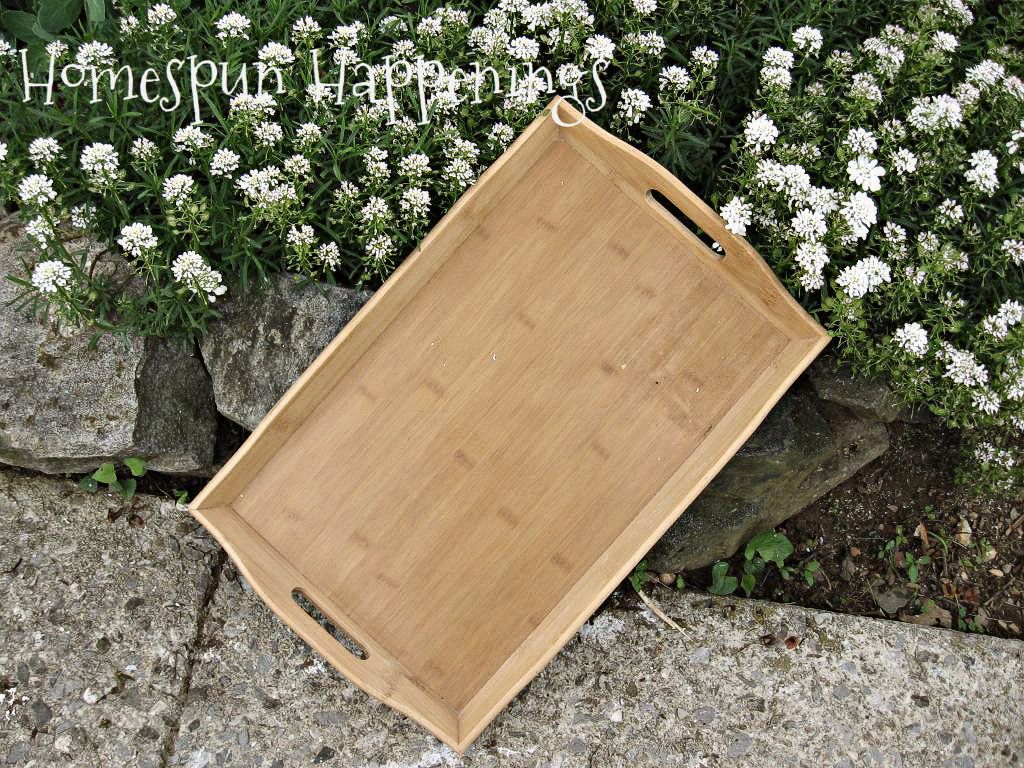
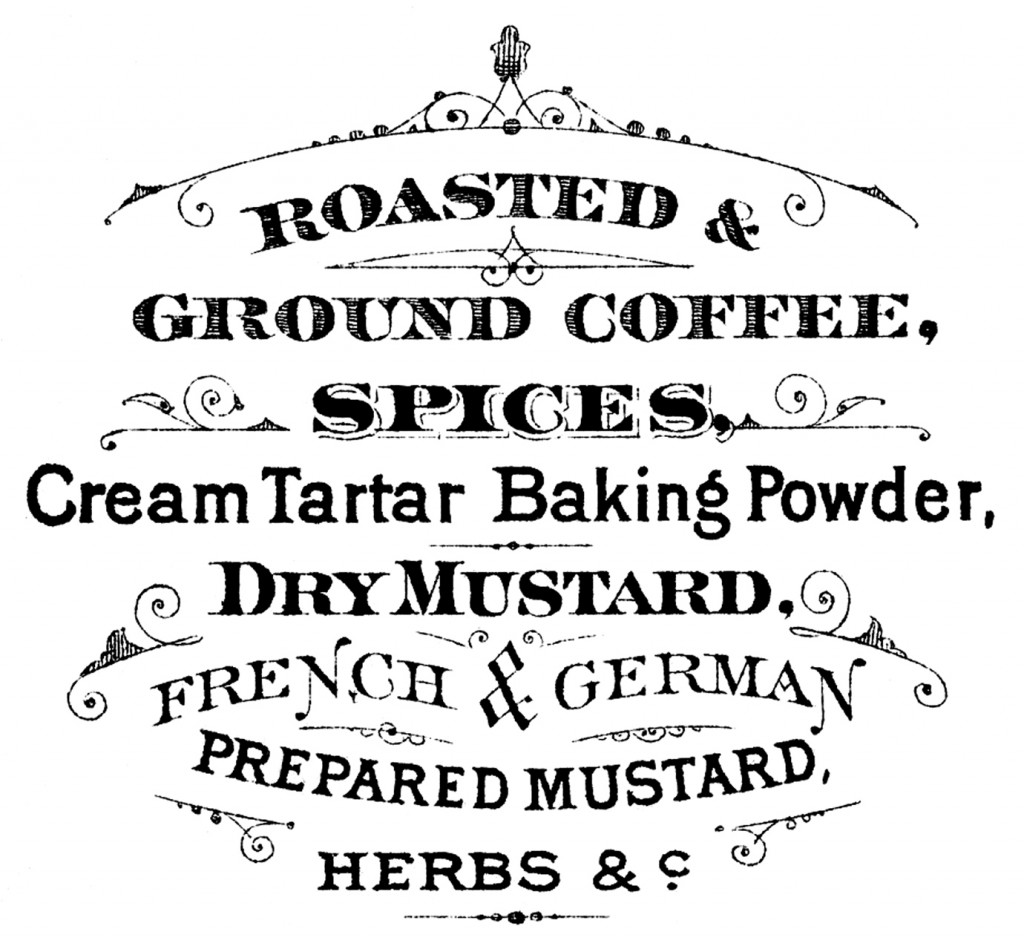
It has been a long time since I bought this tray and intended to do something with it.  I have been using it as is for about two years.  It was fine the way it was, but when I painted my kitchen, I really wanted to paint this tray.  I was looking for a coffee sign from The Graphics Fairy.
Finally I saw this new graphic last week and knew it was perfect!


I painted the Tray with Annie Sloans Old White to match my kitchen.
I only wanted the coffee part of the sign, but I really liked the 'Spices' part of the sign too and decided to add that.  I transferred it onto my tray using my charcoal pencil method.
I then waxed it with clear and dark wax.


It looks so pretty now.

Do you have a favorite tray?

Friday, October 18, 2013

What To Do with These Shelves?

I have had a couple of people who really want me to paint some signs for them.  They want scripture signs.  I know I love having little reminders around my house of God's Truth and Promises.  I was given these knick-knack shelves a couple of years ago, but I really didn't know what I wanted to do with them.  I decided to add a backing to them, frame them, and then add a verse.
 I am so glad I saved all the extra trim and junk boards.
 I primed it with Annie Sloans Old White, and then I made the mistake of painting the shelf and frame black.  It looked awful and cheap.  Since I had little patience left I painted over the black with the Old White, but the black wasn't quite dry.  It turned into this distressed gray color.  
PERFECT!!
I love when mistakes turn into solutions.
 I went over to the Graphics Fairy and picked out a floral boarder. I used the charcoal method to transfer. With permanent India ink and a calligraphy pen I traced over the design and added a little vine here and there.  I then transferred the verse the same way and went over it with a Sharpie Paint Marker.
I let it dry 24 hours before I clear waxed the whole thing.
This one is a gift for a friend.
I have two more that I want to make for my sale in November.
Have a great weekend!

Saturday, October 5, 2013

A Wedding Present

After nine and a half years, our church is finally having the very first Wedding!  I decided to paint a sign for this new family.  I had so much fun designing the saying.  I love using different fonts.  I think using different fonts and sizes really help give a sign some character.  So with a pallet, some paint, a sharpie paint marker, and some stain here is the sign.


It was a Fall Wedding, but it felt like summer.  I am sure that is not what the bride envisioned for an October wedding :)  
They are a very sweet couple, and I wish them well.

Wednesday, September 25, 2013

Blessed is the Nation...

 Ever since we replaced our back porch, I have been coming up with ways to repurpose all of that old wood.  I decided to make a Betsy Ross Flag sign.  
I attached the boards together like this:
 I love that the board already had perfect lines for my stripes.
I used a pie plate to make the placement for my stars and painted them by hand.
I then came up with the saying that I wanted and used my charcoal method to apply the wording to the bottom of the flag.  After the lettering was dried, I stained the whole flag in dark walnut.


"Blessed is the nation whose God is the Lord"
It measures 38 inches tall.


I just love Americana!
I think when the kiddos grow up, I am going to have a guest room in Americana.
That would be so fun to decorate.
As for this sign, it will be ready to sell at my craft sale in November.

Wednesday, July 3, 2013

Repurposing a Frame

This past weekend we stopped at this local barn sale.  These people always have neat stuff for sale and not expensive.  I wasn't really looking for anything special, but I had a project that I wanted to do with a picture frame and pallet wood.  This frame was 50 cents, so I thought I would use it for my little experiment.
My friend gave me her old Country Sampler magazines.  I haven't gotten past the cover of the first one I picked up.  On the cover, I noticed someone had made a sign with wood and a picture frame.  I knew I had to try this one.  Their frame was lovelier than mine, but I wasn't sure how well this was going to go.  I went out to get some scraps of pallet wood and a piece of pine.
I glued them together and actually just placed them inside the frame since it was a snug fit.  To secure the glued pieces into the frame, I put some wood glue around the edges.
Don't ask me why I have rubber bands around my glue bottle--it's a boy thing.
This is what it looked like before I painted it.
I painted it in some AS French Linen.
I didn't completely paint to the edges, because I wanted the stain to grab the wood to give it a rustic feel.  Using the charcoal method and my paint Sharpie I did the lettering.
Here is a closeup of the completed project.
I love stain!
I think I will be making more of these in the future for sure!
I definitely have more frames :)