Last summer while my sister-in-law was here, we went yardsaling.
I have to laugh because her husband asked her this year if she was going to "summer camp".
I asked her, "What is that?"
She said,"You're house."
He calls my house "summer camp" because we worked on some project while she was here:)
I asked her, "What is that?"
She said,"You're house."
He calls my house "summer camp" because we worked on some project while she was here:)
Well.......
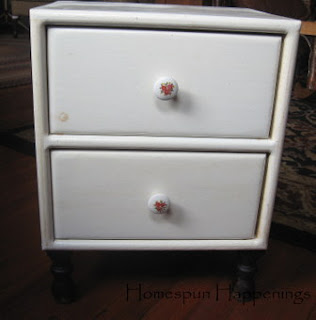
I found this box of drawers for $1.
Someone had made it.
It was well built too.
I took some legs that I had saved from a table I had.
I measured them and cut off the feet to fit under the box of drawers.
To attach them, I drew around the square part of each leg.
Then I drew X's in each square to find the center.
I drilled a hole big enough at the center of the X that the screw would just slide through like this:
I also drew X's on each leg and drilled SMALLER holes than the screw,
so the screws would grab the wood.
Pulling out the drawers, I slipped the screw through the wood box holes from the inside,
and with the screw driver I held the screw in place while twisting the leg onto the screw.
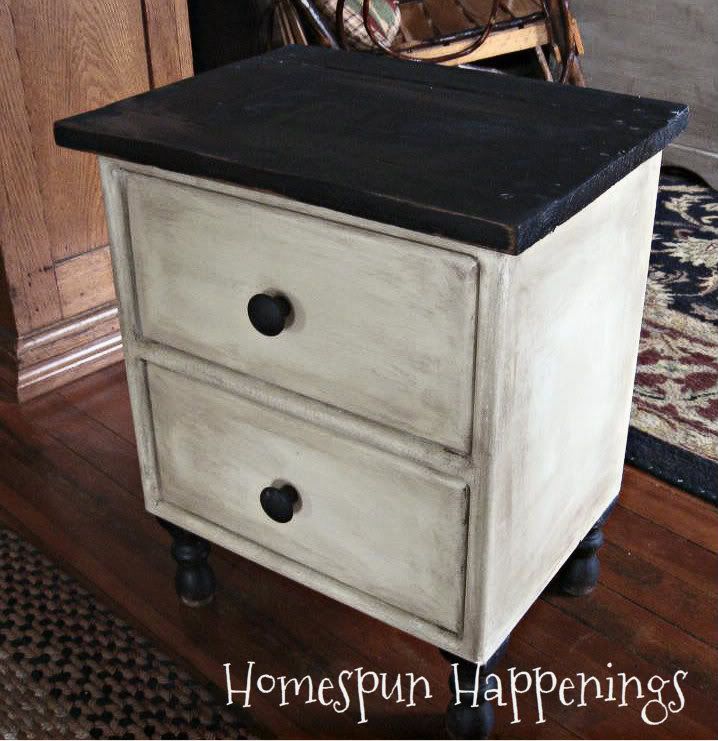
Now the nightstand has legs!
It also really needed a top.
I went out to my stash of wood and cut and measured some boards for the Top.
Yep, that middle board is part of our old steps from when we redid our attic almost 2 years ago.
I carefully nailed them on top of the "nightstand"
Like so:
Now it was ready for paint.
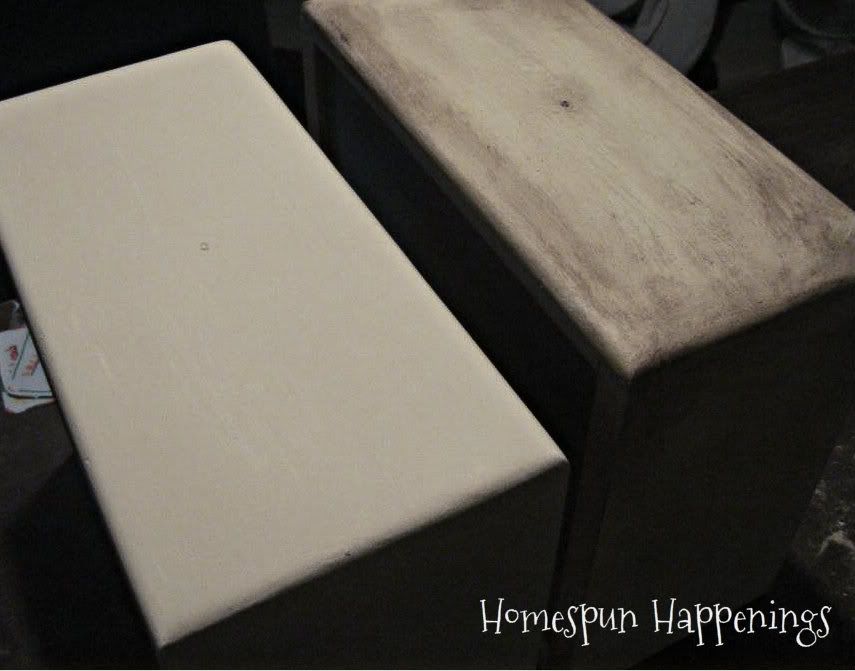
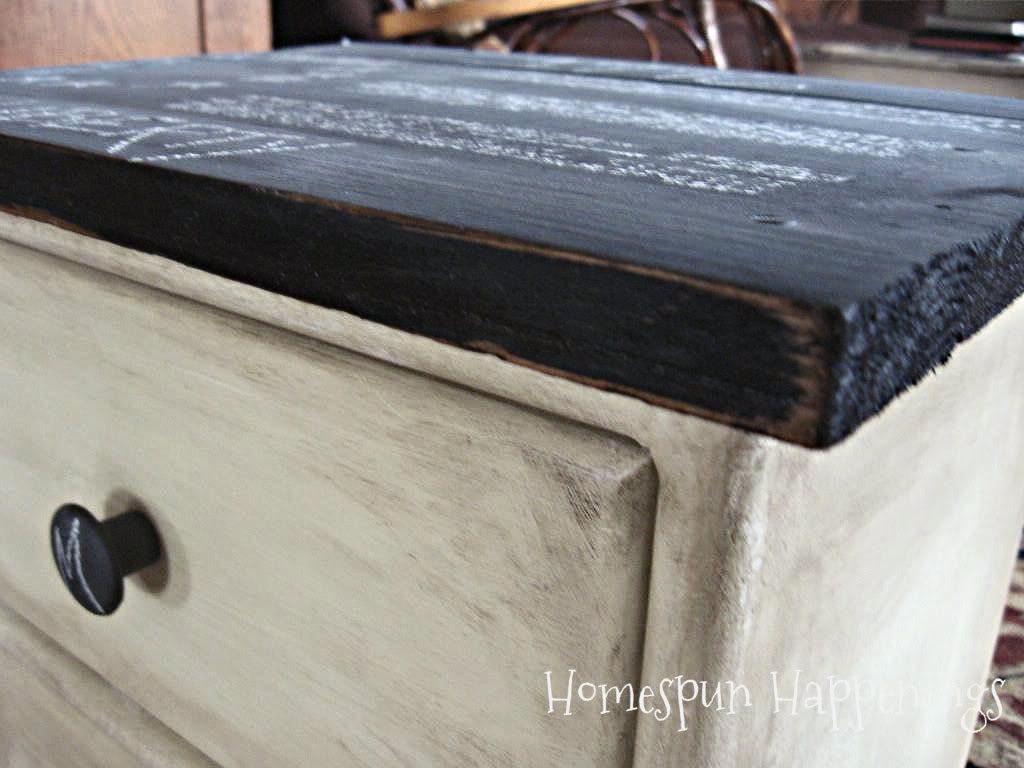
The body has a glossy white paint on it, so I used ASCP for that part.
I had a sample of Annie Sloan's Cream.
Here is the Cream before wax and after I applied clear and dark wax.
This is not buffed yet.
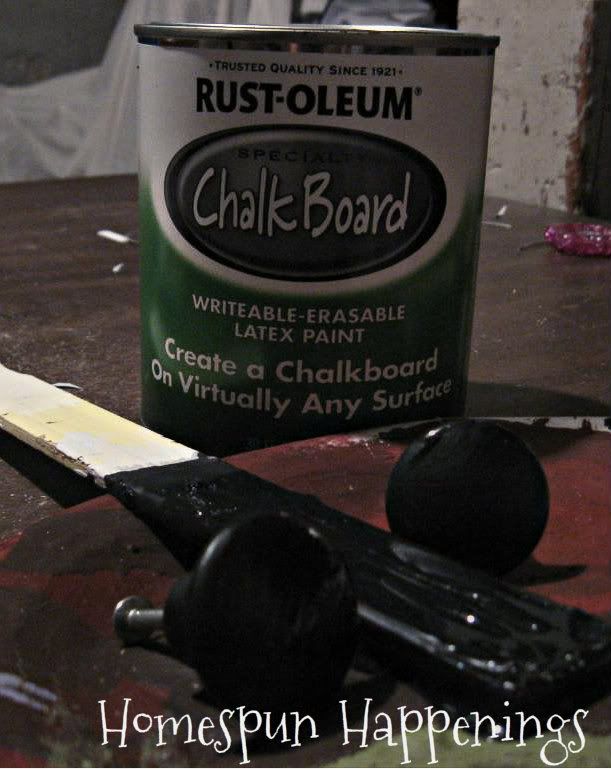
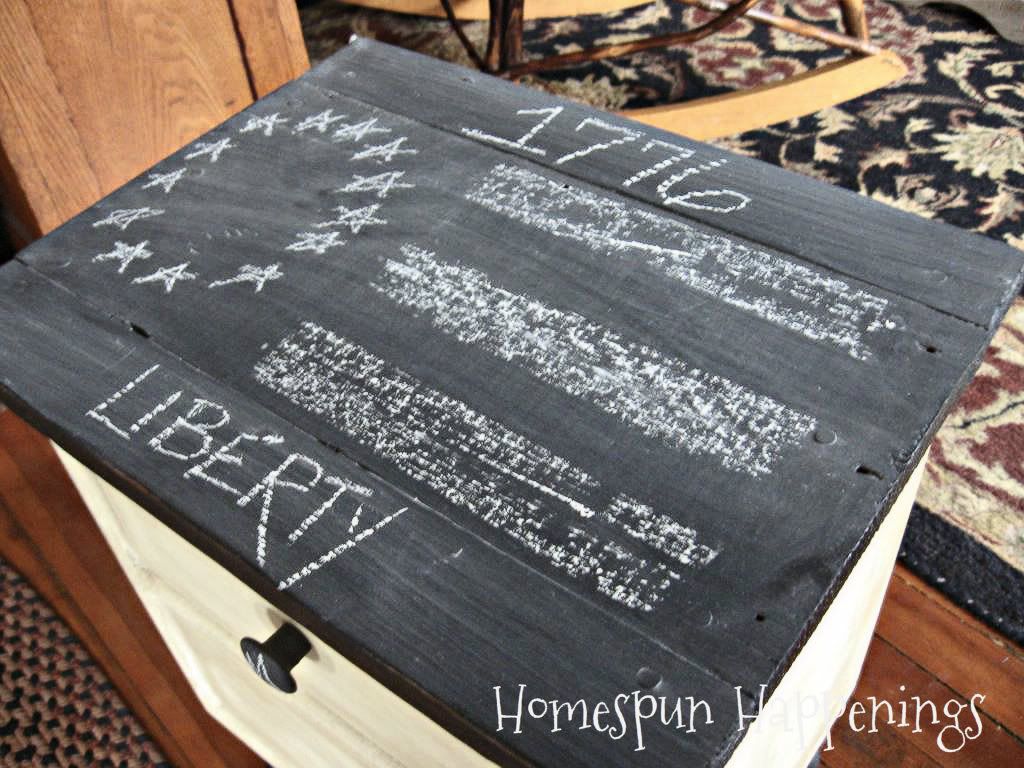
My youngest has claimed this for his nightstand, so I thought it would be fun to paint the top and the knobs to be a chalkboard.
I am using Rust-oleum's Chalkboard paint for these.
I bought this at Walmart.
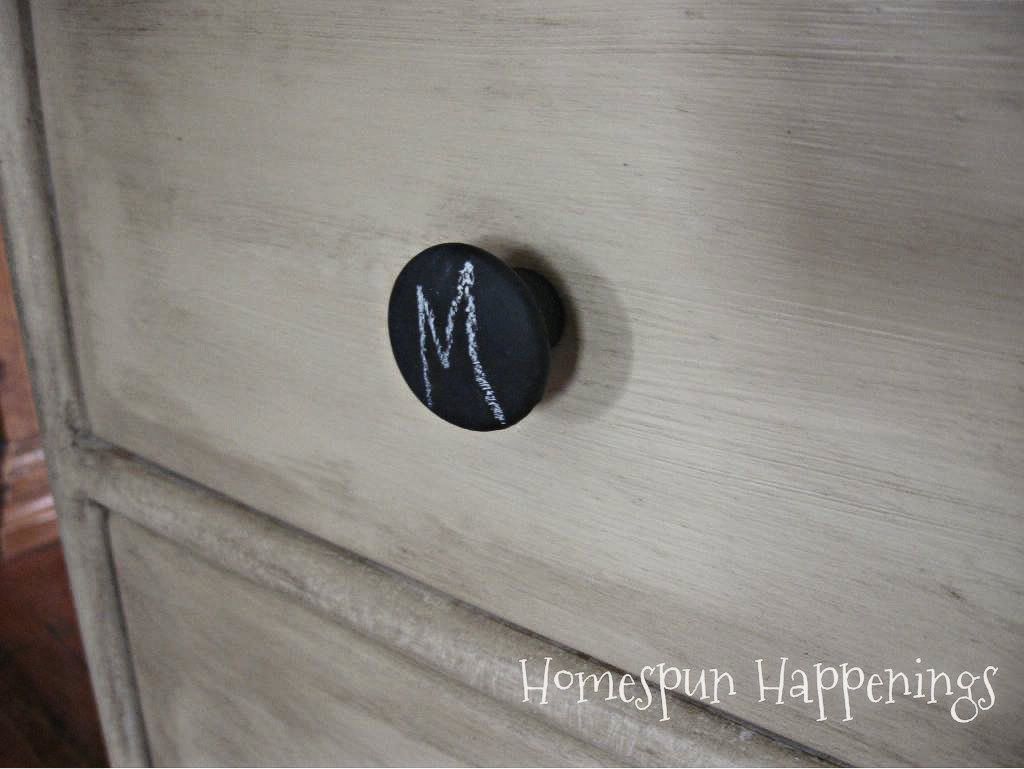
All buffed and ready!
I was very happy with the way the chalkboard paint grabbed the porcelain knobs!



Morning
ReplyDeleteI wanna go to summer camp :)
What a great idea. Turned out just awesome.
Have a great week.
JOY
Trace
www.grannytracescrapsandsquares.com
Love it! Perfect touches for a table : o ) Chalk paint LOVE!
ReplyDeleteToo Cute! .. Love this :)
ReplyDeleteWhat a wonderful idea! And here I have been thrifting for a night stand . . . never thought of creating my own!
ReplyDeleteI love it, I want to come to "Summer Camp" too:)
ReplyDeleteLooove it! Very clever gal you are! Traci
ReplyDeleteIt is perfect. I LOVE your blog even if it does make me feel woefully inadequate :)
ReplyDeleteWhat a fun piece!! You are so creative!!!
ReplyDeleteReally clever, love this.
ReplyDeleteAnne
This turned out SO fun!! I love it!
ReplyDeleteSusan
ooh ooh ooh... I LOVE the legs and the paint and the technique! Girl... I always love your projects, you are so talented and I am featuring you YET AGAIN on Doodles & Stitches Link Party tomorrow. Thanks for linking up!!!
ReplyDelete