"EXCEPT THE LORD BUILD THE HOUSE, THEY LABOR IN VAIN THAT BUILD IT"......Ps.127:1a
Showing posts with label Annie Sloans. Show all posts

Monday, August 13, 2018

Waxing No. 49

No this is not the 49th piece of furniture that I waxed.
It is just what was painted on this crate.
This fantastic old wooden box was given to me by a friend who was sure that I would know exactly what to do to make this a nice decorative piece.  It has so much character for an old crate/box.  Just look at the handles on the side, the two compartments on the inside, and the great stenciling which shows the original use for this box. 
 I decided to wax the box to bring out all of the amazing worn detail accrued over the many years of use.  First I lightly sanded it to get rid of any splintering edges and then vacuumed it out really well.  
Using Annie Sloan's Dark wax and a cheap $1 brush, I began to wax the piece.  I was so excited to wax over the stenciled part, because I was so sure it was just going to pop.  I even recorded it so that I could share the process.  
UNFORTUNATELY, I was so wrong!
Instead of popping, the stenciling disappeared.
So when waxing over old lettering be Cautious!
Here's the video:
Despite my huge mistake,
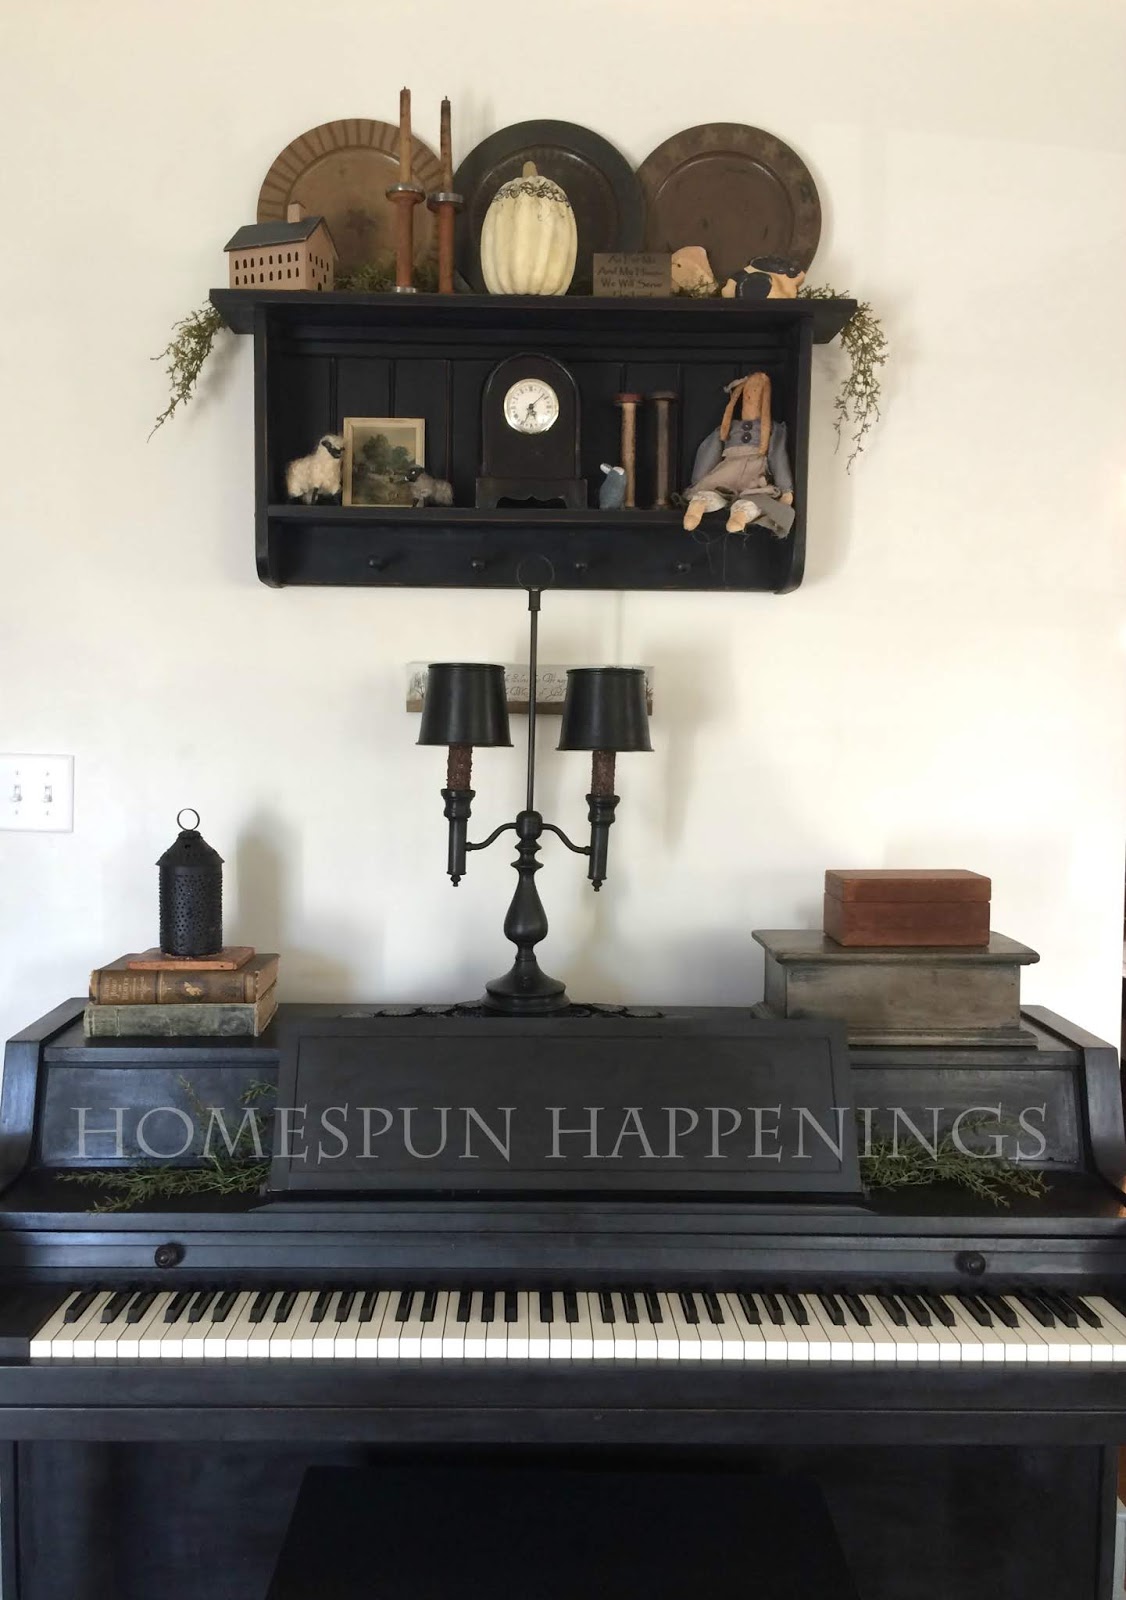
the wax really made this crate/box a beautiful piece!
I just feel terrible that the white lettering is gone.

Thank you my friend, you know who you are :)

Monday, July 23, 2018

$5 Lamp Before and After

 I have been in search of the perfect lamp for my piano.  I needed one that would blend in with my decor yet give good lighting for the pianist.  In my search I found some great options, but they came at a cost that really was not going to work for me.  
 Then I came upon this beauty!!
She caught my eye.  I took a double take...hmmm...looks like candle holders and it looks colonial.  
Oh!  and the price is $5?!  I'll take it!
Would you buy it?
 I thought I had some candle covers that would fit over the light fixtures, but they were too small.  Plan B was to grubby them up with my mixture of coffee grounds and cinnamon...smelled good:)...and apply with glue.
Here is a pic of before and after they dried.  You can see the plastic cover is chipped.  No problem!  You cant see it anyway!
 I painted the lamp with two coats of Annie Sloan's Graphite, letting it dry 24 hours between the two coats because I just wanted it to adhere well with less coats.  It did not chip at all!  I then waxed it in dark wax.
 It buffed up so lovely!
The lighting in the first pic is too bright.  The truer color is on right pic.
 Before and After:
Now would you buy it?
It fits this space perfect and the lighting is amazing!!

Monday, October 9, 2017

Roadside Find (with a mystery) Makeover: Dovetail Blanket Chest

  I have been looking at these blanket chests in antique stores, not really caring to buy one.  I really didn't need another chest, but I loved the dovetails, key hole, and candle box inside.  
Free with a little bit of work was just the right price for me.  
What a neat roadside find!
There is an interesting mystery to me behind this little blanket chest find.

The first owners of our home were the Heiseys.
I found this chest at the other end of our small town.  When I opened the lid, there were two names written in child-like cursive writing, Dorothy and Beatrice Heisey.  I was curious to find out whether these two girls were related to the first owners of our home.  I believe they were from a Mennonite background, so I was actually able to match who I believe is the first owner of our home with two sisters named Dorothy and Beatrice.  Am I positive? no...but it is neat to think that the guy's sisters' hope chest is in a home that he once owned.
Here it is the day I picked it up.  Stained and broken, hubby was not very enthused.
I am not sure how old it is.
It was painted with a wood graining technique.
The wood that chipped off of the chest's lid where the hinges are was still in the trunk. 
 I had high hopes that I could fix this and actually use it.
I glued the wood pieces back on the lid and
 sanded it down to the natural poplar wood. 
It was beautiful just sanded.
I left the writing on the inside lid, but I don't think you can see it in the picture.

I used Annie Sloans' Dark wax to finish it.
It turned turned out beautiful, and the lid seems pretty solid.


Monday, October 2, 2017

Another Waxed Piece

This tool box was a gift from a friend many years ago.  For years I stored my plants in it and loved using it that way.  Now I am ready for a change.
There was a lot of water stains inside from all the years of watering my plants.
I was hoping the dark wax would hide that.  I decided to leave the paint blobs that were on it originally just because I liked the idea that at one time someone's dad used this at his job.
Here is how I am using the tool box today. 
I am sure the man that used this never thought I would store plants in it or collectibles.
I mean after all it is a tool box, right?!
Not today :)

Thursday, August 31, 2017

Crate Find!

I can't believe it has been a whole year since we ventured out to Wisconsin to drop our son off for college.  
As we were on our way to drop him off at his dorm, I slammed on the brakes to have hubby go check out this crate that was out with garbage.
 To my surprise it had the name Glen Rock on it and Milwaukee, WI.  Now that might not seem like anything to you, but to this mama that just moved to a new home in a different county and was dropping off her first born in Wisconsin it had some sentimentality to it.  Where I took my son for his braces' appointment was in Glen Rock, PA (many trips back n forth).  Now I was leaving that boy young man in Wisconsin.  
Every time I saw it in our garage, it was a little reminder to me to pray for him.
 It sat in our garage for a whole year, until today.
So all the mildew looking wood was dry and there were no critters living in the wood ;)
I just wanted to warm that wood up a little, so I got out my Annie Sloans dark wax (which is pretty brown compared to the Jacobean wax I have from Fiddes and Sons)
It turned out incredible! 
 It made the lettering pop and the mildew stain look less frightening.
It is a great keepsake from his first year at college!
And Free :)

Friday, August 4, 2017

My Stepback Reveal

If you've been following me on Instagram and Facebook, you probably know of my recent purchase.
My mud room gets wonderful lighting, which stirred up the desire to use that room for working on projects. When we bought our house last year, I thought I would paint and work on projects in our big basement, however I kept finding myself working on things upstairs where there is more sunlight and people. Now I want to use my mud room for this purpose.  
I  love old cupboards, hutches and stepbacks. I like the idea of using them for storage. I was really excited when I found a reproduction of an old stepback for a great price
They are called stepbacks for the simple reason that the top is set back farther than the bottom piece. I loved the black crackled paint over the red, the old looking wood door latch, and the deep bottom cabinet. What I wasn't so crazy about was the berry red back.
I was less enthused when I set my little collection of yellowware on it.
Regretting the purchase of this cabinet, I told myself to just let it set and get inspired by Pinterest.  So I did. I thought of repainting the whole thing, in the yellow color that I used in my mud room, because there were some scuff marks all around the piece.
BUT I  truly loved the black chippyness.
Searching Pinterest was helpful, but what really helped me was just looking at my hutch I painted last year. The one thing I loved was the wood background.
That would be my first step, to sand off that berry red background. If I couldn't fix the scuff marks then I would repaint the entire piece. As I sanded, I knew I made the right decision.
I started feeling extremely thankful for the person who painted it red, because it left a great layered look to the piece that wouldn't have been there had they not painted it. 
 It looked beautiful just natural.
Next, I was thinking about staining it, but I really liked the way the School Master's Desk turned out that I decided to use dark wax instead.
With my wax brush and cheap dollar brush (to get into the corners), I applied the wax. I soon realized I  loved using the cheap brush over the wax brush. The wax went on so easily. 
Here is a pic so you can see the wood with and without the wax.
Testing the dark wax on the scuff marks, I learned that it hid them well and decided to cover the WHOLE piece with dark wax.
She buffed up nicely

I am super excited at how it turned out, and I love all the room to store our school things!
The other hutch looks great in the mud room and I look forward to organizing my craft supplies in that!

Wednesday, January 25, 2017

My Painted Piano

 We got a free piano via Facebook Market Place.  It sounds beautiful, but I was not liking the 1970's basket weave it had and the gold jewelry.  I decided to paint it using Annie Sloan's Charcoal.  I know I am not the first to this, so it was great getting on Pinterest and seeing all the great colors people chose.  I didn't want my piano to be a focal point in my home...so black it is.
 Here is a better pic of the basket weave.
I needed to replace it with some thin pieces of wood. 
 When cutting it chipped really easy!
I knew the paint would cover any blemishes I did to the wood.
 Painting it was easy.  I used two coats to cover the piano.
I knew using the Jacobean wax from Fiddes and Sons would give it the rich black look I was going for.  I did no want a shiny piano.  It just is not me.  If you want a shiny look, do NOT use chalk paint--it is not Glossy.
 Here it is painted and buffed.  You can see that it is not quite that glossy, shiny finish, but the buffing does shine it up some.  I love the new jewelry (knobs) I bought at a local prim gift shop.
I am enjoying the new look!
Now to find a real piano bench.

Tuesday, January 17, 2017

Master Bath Redo on a Budget

 We are still slowly making changes to our new house making it feel more like home.  For me that involves a lot of painting :)  However, the master bath needed a little more than paint.  We wanted to update a few things on a budget.  
 Here is a picture we took during the inspection.  The Hollywood lights weren't my style.  Although the cabinet space was wonderful, I really didn't care for the cabinet itself.  The vanity was paintable, but the fixture was old and there was no working plug.  We were just going to change out the fixture and hardware, but we found a whole new vanity and top on craigslist for cheap.
This is the newer vanity with top.  
We took off their towel rack and filled in the holes and painted the vanity to match all the woodwork.
 More before Pics with the newer vanity.

  I'm not sure if you can make it out on the above pic from inspection, but we had to take down some wallpaper border.  The walls really needed some paint. 
Here are all the added fixtures and touch ups we did to make it more to our taste.  I actually made the shower curtain out of a drop cloth.  It is just more my style--not necessarily cheaper :)
We painted the woodwork in Annie Sloans' Versilles.  
The walls are Sherwin Williams' Oyster.

Amazing how much warmer it feels!