"EXCEPT THE LORD BUILD THE HOUSE, THEY LABOR IN VAIN THAT BUILD IT"......Ps.127:1a
Showing posts with label Kitchen. Show all posts

Sunday, August 5, 2018

Cookbook Holder Made from Cutting Board

It all started with this.
The lady informed me that this little metal stand was wide enough and would hold my cookbook. After all it was standing up in the store when it was stacked together with other metal stands of its kind.  When I came home it would not stand up on its own.  I then added the book and the book fell forward.....No support whatsoever.  
I was upset that I even put money into this.
 Then I remembered this little cutting board I found at the thrift store.
I thought it would make the perfect thing to mount my stand to.
I needed to add something to the board for support.
Perfect!
I knew I wanted to wax the cutting board to bring out all of the cool markings in the board.
Exactly the look I was going for! 
I love how worn it looks!

 I realize now that I am so happy it was a flop in the beginning.  
It's a true decorative and useful piece now. 
I believe the total cost for board and metal stand was $5.


Friday, February 17, 2017

Primitive? Farmhouse? Shabby Chic?

Be Yourself!  
Don't worry about what others think!  
I think I have said these very words to my kiddos as they faced the many peer pressures of life.
Now that we moved, I find that my painting and creativity over the past 6 months have been basically for our home not for a sale.  I had to reevaluate my thinking when it came to buying or painting things to fix up for our home.  It is hard to not go with what is popular and to just decorate my home with what I enjoy being around.  I enjoy the colonial, primitive look.  I love the Farmhouse and Shabby Chic style, but I find that I like living with warm, dark colors...not all whites and grays.  I tried lighter furniture and things, only to come to the conclusion that it just gets so dirty too fast.  So unless I live in a museum with a 'Please Do Not Touch' kind of life, it is just impossible for me to live.
I say all of that because I have been able to get two really good deals on primitive chandeliers because that look is not as popular anymore.  I bought this 6 armed Chandelier on Craigslist for $25.  I was able to paint it and make it fit into my decor.
After finishing my kitchen, I was on the hunt for a smaller chandelier to use over my sink.  I priced them at $250-$300.  I knew that was too much, so on to Craigslist I searched.  It took patience and time, but I finally found this one for $10!
 I couldn't believe it!  From the photo, I thought the chandelier was metal, but it is wood.
I wanted to add a pop of color to my Linen Kitchen that I just painted.
Barnyard red and Walnut stain was perfect!
 I was going to hang this where the previous owners had put a recessed light fixture.  The hole was way too big for the crinkled tin plate cover it came with.  I found this tin pie plate at a yard sale for 50 cents.  I knew it would be perfect.  So hubby helped me drill a hole into the center of the plate.
 It covered the big opening perfectly.
Hubby also put a dimmer switch in for me too.
 I absolutely love the pop of color. 
 The chandelier adds a very cozy look to my kitchen window. 
 The faux greens and light help take the place of having a curtain.

Tuesday, August 23, 2016

New Home Tour #1 kitchen

It is so hard for me to give a tour of our new home when it is still not the way we are envisioning it.  I realize though that our vision may not happen and if it does, I can share the changes with you along the way.  
The day that we moved in, I started to paint the kitchen.  I had my Annie Sloans' French Linen ready to break open and paint.  I knew it would be easier to paint before unpacking all of my kitchen stuff.  It took about two weeks (with some interruptions and waiting for more paint & wax) to finish the kitchen.  I would paint a section and then unload a box or two.  I work well in steps :)
Here is day one.  
Can you see all the stuff in the background?  
I had stuff and boxes everywhere!
 Would you have unpacked everything first and then painted?
I know, I am a little crazy.
I used clear and dark wax on the cabinets.  I knew from my previous Kitchen Makeover (3 yrs ago in our old home) that I wanted to use Annie Sloans Chalk Paint and Fiddes and Sons wax.  It held up so well in our last home.  In fact, I only had to touch up where fingernails dug into the cabinet around the handles.  
Here is a good pic of the color and the hardware I used.
The hardware was from Lowe's.  I decided not to put any hardware on the cabinets, because my son counted all the cabinets and I had 34 cabinets to paint--not counting drawers.  I wasn't going to pay for all that hardware.  We'll see how things hold up.  It has been about a month, and so far no scratches or chips. 
 Finally here are the before and after pics.  
The "before pics" were taken during the inspection of our new home before purchasing the house.
This is the view as you enter the kitchen from the front of the house.
Sorry for the not-so-focused pics.  It is so hard to photograph this house. 
I bought some panel board and made panels for the doors with windows. 
 This is the view as you turn left when walking into the kitchen.
I found these paneled doors left in the garage.  They did not match in color, but you never would know it now.
 Finally, This is the view from the mudroom entrance.
I still need to finish painting those cabinets in the hallway.  I ran out of paint.  I also need to paint the wall next to the fridge.  I am debating about what I want to do with the back splash.  I think I like the white and will probably just keep it that way for now.

I will try and post a new room or area each week.
It has been very fun personalizing our home.
I know a lot of you out there really don't like a dark kitchen and may be cringing at the dullness.  I guess I just really love Linen.  I had white and was ready for a change.  I am really happy with the way it turned out.

Tuesday, August 4, 2015

My Kitchen Table Redo

My kitchen table was starting to show some wear. The poly was coming off from so much use. Now normally I would have welcomed it and kept it looking aged, but I didn't care for the oak color.  I like the dark walnut look.  I wanted it to match my kitchen island.  
The legs were painted black before.
Sorry for the dark pic, it was the only before I had.
Hubby sanded it down for me!
What a sweety :)
 It sat unfinished for almost a week.  
I really liked this look, but I knew if I put a clear coating 
on it it would look oak colored because it is oak.
 I put on two coats of stain and three coats of Waterlox sealer with a brush.
 I painted Annie Sloans Old White over the black legs and apron. 
I waxed it with light and dark wax.
 Here is the new top.
 Now you can see how it blends in with my island.
The farm table look I always wanted.

Tuesday, April 30, 2013

Final Kitchen Reveal

I am so excited to finally share with you my kitchen!
As many of you who read my blog know that we wanted to change and update our kitchen within our budget.  This meant not replacing all the cabinets with great quality cabinetry, not getting the best counter tops, not redoing the floors, not even touching the lighting in the ceiling that our kitchen desperately needs, and not buying the latest and greatest appliances. However hubby did spoil me in that area!
This post is going to be a lot of pics.  I hope you will enjoy the before and afters.

Before:
Our burgundy kitchen...
I always loved this color, but I was ready for a change.  One thing I noticed was that dirt still showed up on the dark paint too!  I decided that I wanted to age my kitchen with dark wax--I hope to hide a lot of those fingerprints and dirt.
It all started with changing our island from this to...
This
Next I started painting the walls and wood work.  For the wood work I used Annie Sloan's Coco and light and dark wax.  The walls are painted a sandstone color that we used in other rooms of our home, so I already had the paint.
This wall before:
After:
I made this mantle out of pallets. 
It is my coffee station.

I use some old jars for sugar and cinnamon.

The next corner of the kitchen
Before:
After:

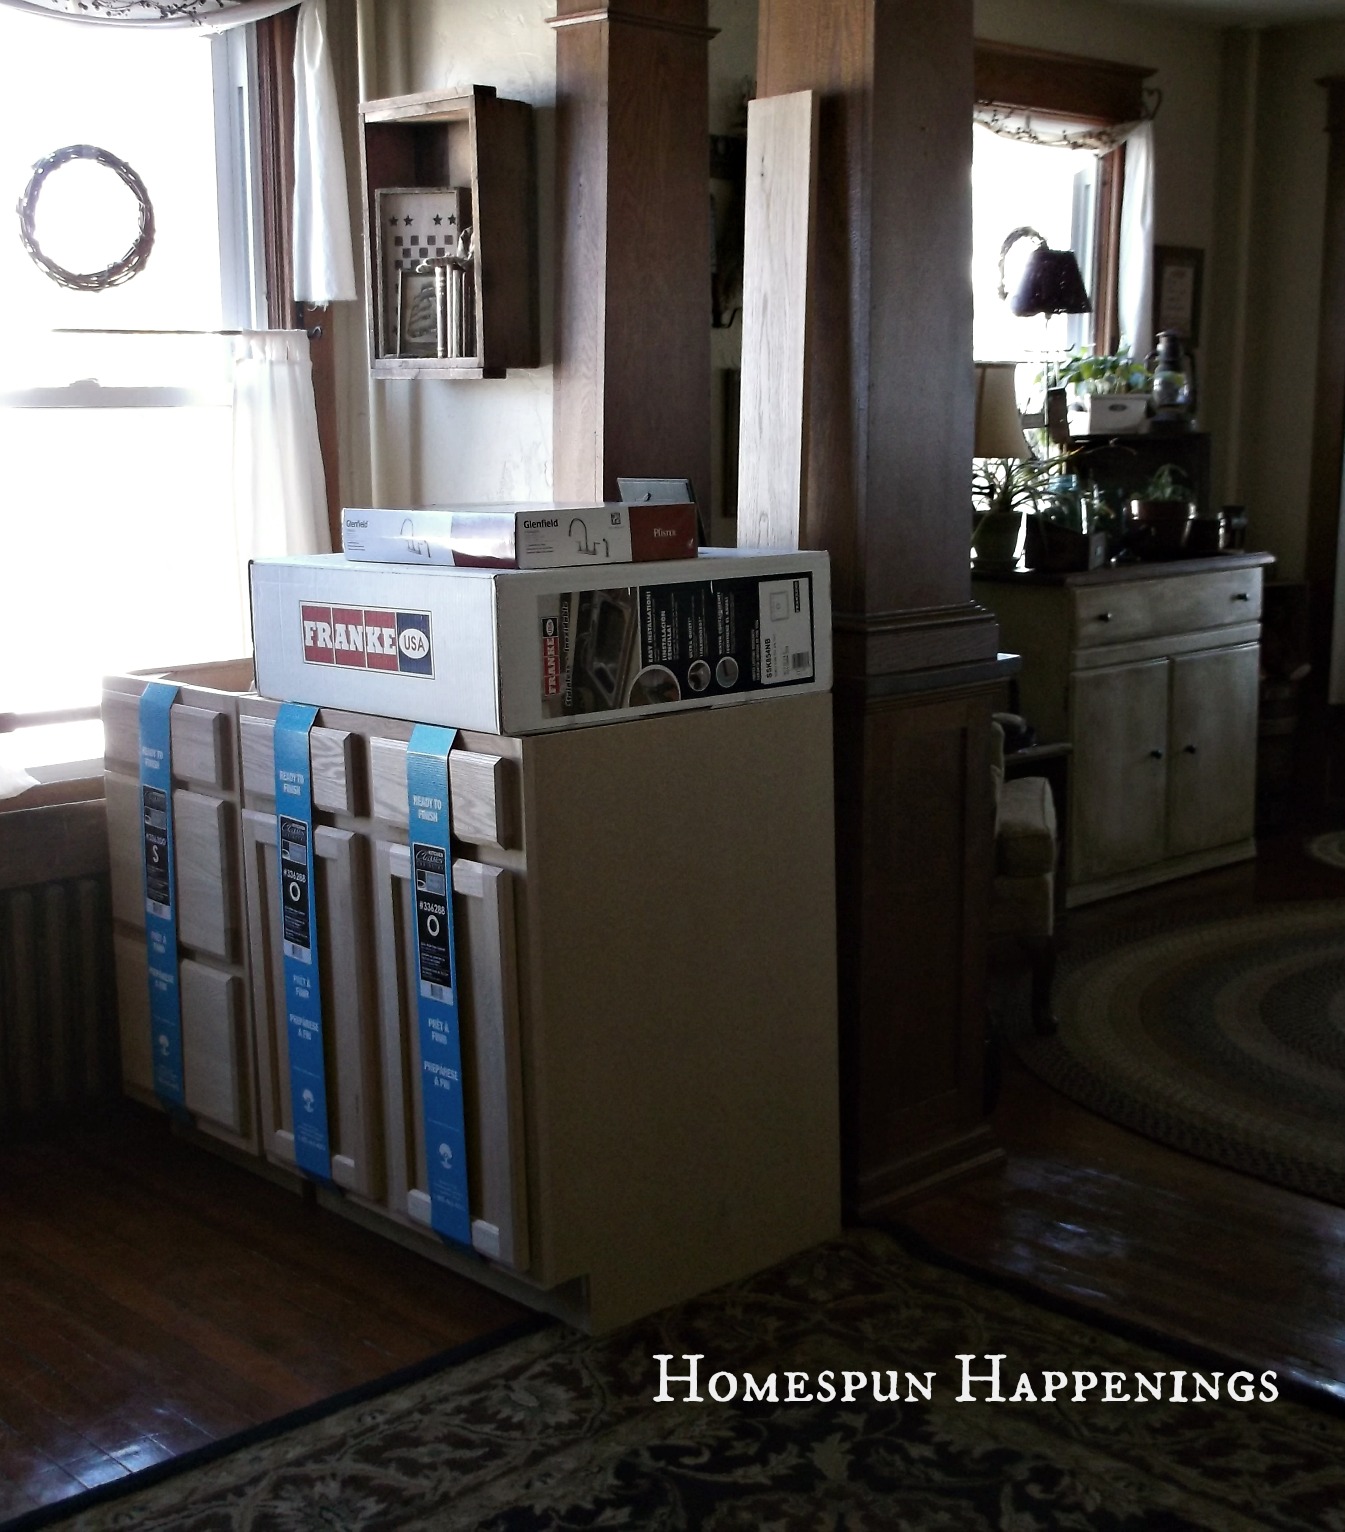
Now for the cabinet area.
We have a galley kitchen, so all the cabinets are on one wall.
We only replaced the bottom cabinets, counter top, and sink.  The sink was a huge deal for me to change.  Our old sink was 6.5 in. deep.  Our new one is 8.5 in. deep.  It is amazing what 2 in. will do for space and cleaning!  The old sink was 33 in. wide, and our new one is 25 in. wide.  Oh how I love having more counter space!
Before:
After:
We added lighting underneath the cabinets, and boy does that make a difference!
I especially love having 3 drawers and a skinny cabinet now for cookie sheets.  My favorite drawer is that skinny junk drawer :)  That skinny cabinet was custom made for our little 8 in. extra space that needed to be filled.
The other custom thing that had to be done was cutting the top cabinet for the microwave.  As you can see in the photo below, the cabinet needed about 3 in. taken off.  We also cut and finished the cabinet doors on those cabinets to match the other doors.
You can't even tell we cut them.
There was an extra outlet added to the wall under the cabinets.
Oh how I love that too!  We have an older home, and it lacks in outlets and lighting.


It's amazing how much you appreciate those small things when you never had them.Two burners on our old stove never worked.  I had to manually light them.  How nice to have a stove that works!  We went from a 16.5 cubit fridge to a 24 cubit size.  I can't believe our family of 6 lived with such a small fridge before.  I am loving all the space!

Break down:
1 can of ASCP Old white-$36
1 can of ASCP Coco-$36
1 can of Fiddes & Sons lear wax-$14
1 can of Fiddes & Sons Jacobean wax-$14
bottom cabinets-$316
counter top-$108
Hardware-$27
Sink-$105
Faucet-$98
lighting under the cabinet-$138
Total -$892
Plus appliances and paying our friend-$3,350
Grand total-$4,242

The average cost of a kitchen remodel is $19,588 and I don't know if appliances are added into that average cost.  

So a remodel can be done with a small budget!

I hope you enjoyed our little journey.

Linking up With:


Sunday, April 14, 2013

Kitchen Update #6

It has been a little over a month since we did anything to the kitchen.
So far I repainted the cabinets and redid the island.  I had to wait on the next step of putting in new cabinets. Our goal was to try and give our kitchen a face-lift without breaking the budget.  So the cabinets that we were replacing were really out of necessity.  We just bought the unfinished cabinets from Lowe's.  
The old sink base cabinet was so gross!!  It had years of mildew and I don't know what in it.  The cabinet next to it was of little use as far as storage.  That top "drawer" is actually just a face--no drawer because the owners before had put in a 33" sink in a 30" sink base cabinet.  They had cut into that drawer area in the side cabinet.
We also just went with a laminate counter top they carried in the store.  The sales guy recommended putting a couple of coats of Polyurethane on the underside of the counter top to guard it from moisture, so that is what I did..
So the day finally came to rip everything out.  Our friend was doing the work, and he allowed my boys to help.  I am always so thankful for an opportunity for my boys to be boys and work alongside some good godly men on work projects.  
The cabinet above the stove had to be modified for the microwave, so the oldest got to help cut that out.
I got to help redo the face on the cabinet door.  Since the decorative line got cut off I had to cut a new decorative line and sand away the old line along the bottom sides of each door.

I used his Dremel to cut the new line.  I loved using that tool. This clamp 'n tool guide made it so much easier to cut a straight line too.
The doors still need more sanding before I paint them and wax them again.

I will be able to share with you the finished kitchen very soon!
Yippee!

Tuesday, March 12, 2013

A Pallet Plate Holder

As some of you may recall, I had decorated the top of my old fridge with two pallet boxes that I made last summer.
When my new fridge came, the magazine type box was too tall to put on top of the new fridge.
I had placed it on my coffee station.  I really wanted to hang it on my wall, but alas it was way too heavy.  I really like the way the wood bowl, pie pan, wood scoop and spoon look in the rack.
I decided to make a lighter rack to hold them.
Hubby cut up another pallet that didn't have a back to it.
I nailed a piece of pallet wood onto the bottom of the rack.
I then took a piece of lathe, cut it, and nailed it to the back.
It is 2/3 lighter than the other rack--PERFECT!
I didn't want to paint it.  I also went back and forth on whether I should paint a saying on it.  I decided that I just wanted it to look old.
To make the wood look aged, I took some Dark Walnut stain and dry brushed the edges.
I think I made the right decision.
I love the way it looks on the kitchen wall.

Linking up with:
Creative Cain CabinOld Red Barn