"EXCEPT THE LORD BUILD THE HOUSE, THEY LABOR IN VAIN THAT BUILD IT"......Ps.127:1a
Showing posts with label Pallets. Show all posts

Monday, October 5, 2015

Pallet Racks

 I'm Back!
Wow, It has been a whole two months since I posted something!
There have been a lot of adjustments in our lives with hubby's work and my son's new job.  I have been trying to prioritize my life the right way, so blogging and crafting have taken last place.  We were looking to move, but my son got a full time position at his job, and we decided it would be best to stay around here a bit longer.  He is saving up for college and hopes to start his freshman year next Fall.  Since we're staying here at least another year, I decided to have my annual craft sale again in November.  
Recently, I've been working on these pallet racks.
I just love my rack that is hanging in the kitchen.
The hardest part about this project is tearing apart the pallets.
I cut up a leather belt to add some decorative straps.
I think my favorite one is the rack painted with the color 'Shady Forest'.
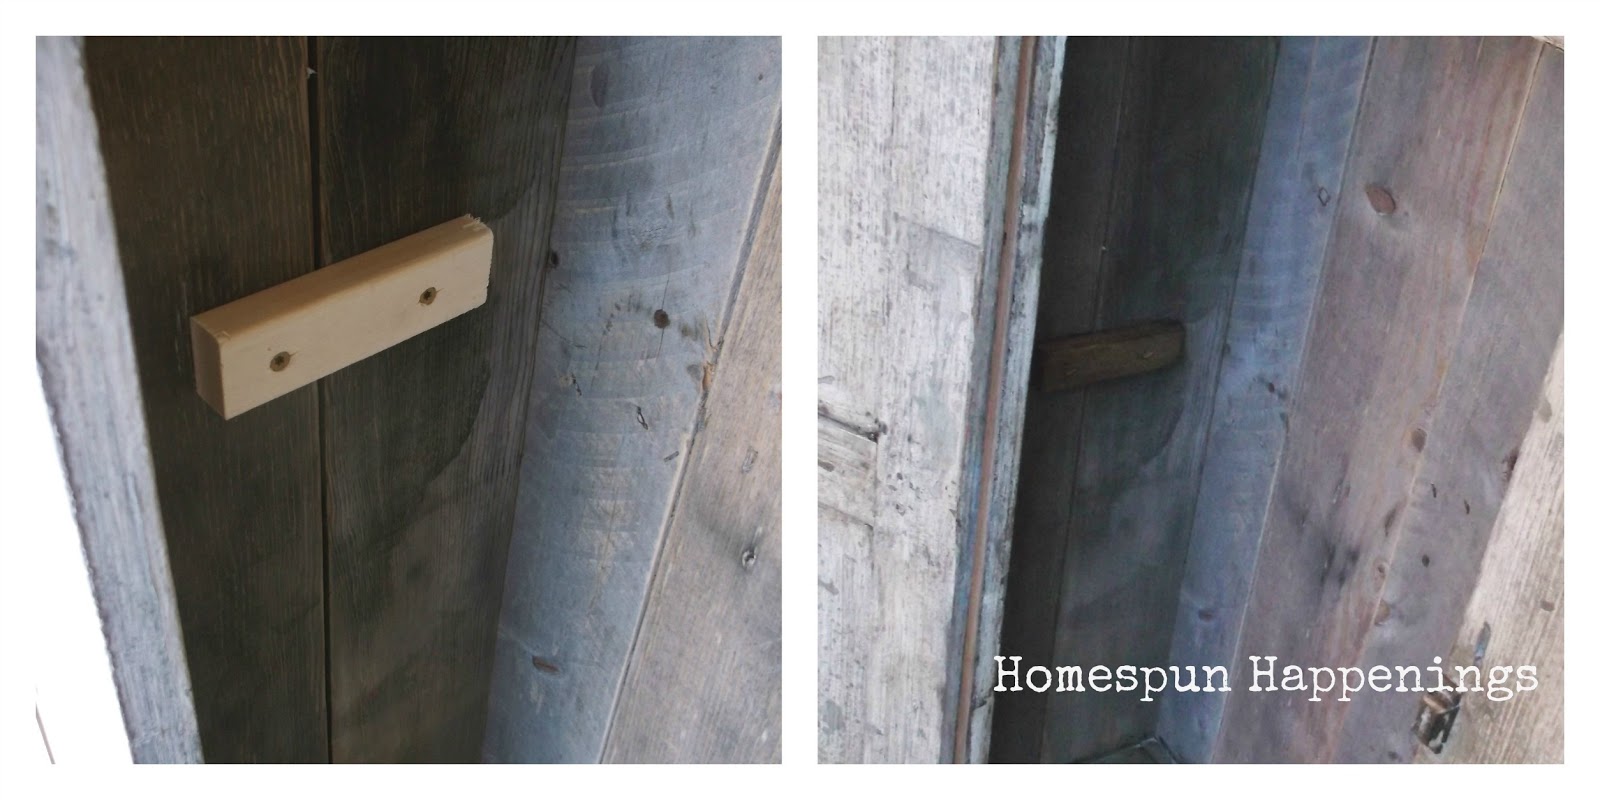
I stained them all with Minwax's Dark Walnut.


Thursday, November 6, 2014

Boxes and More Boxes

 I don't know what it is about wood boxes and me.  A friend of mine talked about how she wanted a box for a centerpiece on her table. Well, I got so excited about making one that when I went out to my pile of wood, I decided to make three of various sizes.  The long one is made of pallets and the other two from some left over porch wood.
 I painted the the pallet box in Shady Forest and stained it in dark wax.
I love how primitive it looks!

For the other two, I just stained them in dark wax.
They had natural character.
 The box on the top is wider and can hold a wider jar than the old canning jars I displayed. 
I really enjoyed making these and seeing the end results!
Only 3 weeks until my sale!
Getting excited!

Monday, October 13, 2014

Pallet Ironing Board Sign

Looking at an old ironing board, I was inspired to build a sign made from pallets.  After sanding some pallet boards, I glued them together with some wood glue, cut the one side to resemble an ironing board, painted them, and added some wording using the charcoal method.
Sorry but neither one of the green pictures above is the true color of the sign.  My camera could not capture it with the lighting in the room.  
I knew I wanted them to be aged, so I finally stained them in dark walnut.
 Viola!  Here they are! 
Before and after I stained them. 
The minty green is the true color of green.  It looks very vintage.

Saturday, August 2, 2014

Pallet Wood Tote

I've had this idea to build a wooden tote out of pallet wood.
Here is how I pieced it together.
 I used wood glue and nails to piece the handle to the one side of the bottom, and then I glued the other side to the handle.
 Here it is all pieced together before I stained it.
 I truly hated it after I stained it, so I took the sander and sanded down the whole thing.  I kind of like it now, but I am thinking about white washing it to give it more character.
 What do you think?
leave it or white wash it?
Hope you all have a Happy Sunday!

Friday, January 17, 2014

A Comforting Verse

Sometimes we think that we need more than what the Lord has given us.  We seek help from friends, family, and our own talents.  It is so comforting to know that the Lord has provided enough Grace to forgive, to strengthen, and to provide for all our needs.
Here is a little sign I made for a dear friend.  One whom when I needed help, I would seek her wisdom.  Instead of giving me a good pat on the back, she would always point me to what the Lord can and will do for me in my situation.  
What a great friend! 
 Coloring on the back of the papered image with my charcoal pencil, I transferred the image first onto a piece of pallet wood and then centered and transferred the verse above the image.  I only traced enough to outline the image, and then I filled in the detail with a calligraphy pen and permanent ink.
 I used my Paint Sharpie Marker to do the lettering.
Hopefully seeing this verse will be an encouragement to her as much as she has been an encouragement to me.

Saturday, October 5, 2013

A Wedding Present

After nine and a half years, our church is finally having the very first Wedding!  I decided to paint a sign for this new family.  I had so much fun designing the saying.  I love using different fonts.  I think using different fonts and sizes really help give a sign some character.  So with a pallet, some paint, a sharpie paint marker, and some stain here is the sign.


It was a Fall Wedding, but it felt like summer.  I am sure that is not what the bride envisioned for an October wedding :)  
They are a very sweet couple, and I wish them well.

Wednesday, October 2, 2013

Tall Prim Cabinet

My mind would not settle until I made this cabinet.  Sometimes that can be so annoying.  I wanted to build a tall cabinet out of the leftover porch wood and pallets.  I had envisioned it much wider, but I did not have enough of the right kind of wood for the top and the base. I started off making the door and gathered wood for the frame.
I built the sides alternating thin and wide boards.  I like the look of it not being uniform.  Before I painted it, the cabinet looked like a Big Top Tent.
I tried to make sure the shelves would be level, but I ended up doing this all over when the cabinet was finished. :)
I decided to use up my old kitchen cabinet paint. Rustic Cedar was the color. It is oil based.  Have I told you how spoiled I am from using chalk paint.  I never want to use oil again.  It took forever to dry!  Here is a pic of the color before and after stain.  The dark walnut stain made it a barn red color.
I had my oldest son whittle a piece of wood for my lock.
I reused some hinges I took off of something.
This picture makes the color of the cabinet look orange...It is NOT orange looking.
Here it is 4'5" tall and 20.25" wide
I know these are bad pics.  It was a cloudy day, and my camera did not want to focus right.  I wanted to use natural lighting so the color looked natural.  Oh well.....
What was so great about making this cabinet is that I was able to make it without buying a single item...just my time.

Linking Up with:

Knick Of Time

Fluster Buster

Wednesday, September 18, 2013

Making a Cabinet from Recycled Wood

Yay!  I finally finished building the cabinet!
It started off as a roadside find.  It was a double wall cabinet, and boy was it heavy!  It had no back to it.  The shelves were all cut up so that it fit flush on the wall.
So I tore it apart and saved some of the wood.  I then tried to get rid of the silver paint that was on it and loved how the white looked crackled with the silver.
Finally I took some pallet wood, porch wood, the door, the frame, and some wood from the old cabinet, and I built a single rustic cabinet.  My son helped me cut the wood that needed to be cut with the skill saw.
I used the porch boards for the sides and the pallet wood for the back.
I just wanted one shelf so that tall things could be stored inside the cabinet.  I stained the shelf holder to blend in with the pallet wood and porch wood.  For the shelf I glued two pallet boards together.
The door didn't close right so I needed to use a hand plane on it, but I don't own a plane.  My youngest reminded me how his grandpa lost his hand plane in the attic steps when he was remodeling our attic a few years ago.  I figured, why not rip up the step and see if it's there. 
It was!
( So Fran, I have your plane :) I don't know why we didn't do that when you were here instead of buying a new one)
I painted the top, sides, and back in white.  It needed to be stained in order to blend.
This is before I stained the whole cabinet.
Here is what is looks like stained.
I love how aged the stain makes it look.

Here it is finished.  
I have another door and more wood.  I think I might make another one :)
My plan is to sell it at my craft sale.  
Here is a question for all you ladies out there that have booths.
How much would you sell my cabinet?  
Everyone says I sell my things too cheap.


Wednesday, July 3, 2013

Repurposing a Frame

This past weekend we stopped at this local barn sale.  These people always have neat stuff for sale and not expensive.  I wasn't really looking for anything special, but I had a project that I wanted to do with a picture frame and pallet wood.  This frame was 50 cents, so I thought I would use it for my little experiment.
My friend gave me her old Country Sampler magazines.  I haven't gotten past the cover of the first one I picked up.  On the cover, I noticed someone had made a sign with wood and a picture frame.  I knew I had to try this one.  Their frame was lovelier than mine, but I wasn't sure how well this was going to go.  I went out to get some scraps of pallet wood and a piece of pine.
I glued them together and actually just placed them inside the frame since it was a snug fit.  To secure the glued pieces into the frame, I put some wood glue around the edges.
Don't ask me why I have rubber bands around my glue bottle--it's a boy thing.
This is what it looked like before I painted it.
I painted it in some AS French Linen.
I didn't completely paint to the edges, because I wanted the stain to grab the wood to give it a rustic feel.  Using the charcoal method and my paint Sharpie I did the lettering.
Here is a closeup of the completed project.
I love stain!
I think I will be making more of these in the future for sure!
I definitely have more frames :)


Monday, March 25, 2013

An Encouraging Sign

I love having scripture around the house to encourage me in my daily walk with the Lord.
I wanted to make an antique, rustic sign for my house.
Choosing the perfect wood is key to making a rustic sign.
I took a pallet board, cut it in half and glued them together.
I painted it white, making sure to just dry brush it near the edges.
I printed off the words from my computer and transferred the lettering using the charcoal method.
I painted the letters using a paint marker.
I finished just in time--I ran out of coffee =)
I let it set for 36 hours before I sanded the lettering to make it look distressed.
I really wanted the paint to stay white while using stain to antique the sign.  I knew that if I stained the whole thing, it would turn the white into to tan.
So I just dry brushed some dark walnut stain on the edges.

I love all the imperfections.
To finish it, I put a coat of clear wax over it.
Perfect!!!
....so meaning filled!

Linking up With:
Creative Cain Cabin