We are so close to the end of our school year. Eight more days to go.
Research papers are soon due. My house looks like a library threw up--books everywhere!
Research papers are soon due. My house looks like a library threw up--books everywhere!
I am itching to get to the many many projects I have lying around our house and our garage.
One small project was to make a sign for our bedroom.
 I wanted a verse that would encourage me.
One small project was to make a sign for our bedroom.

I came across this one:
"Rest in the Lord and wait patiently for him:...." Ps.37:7
"Rest in the Lord and wait patiently for him:...." Ps.37:7
I knew that this would be too long for the board I chose, but the first four words were perfect for me.
I have a huge problem with worry, so I thought this would be a good verse to see when I go to bed after making so many decisions during the day. It would also be good to remind myself every morning when I start my day.
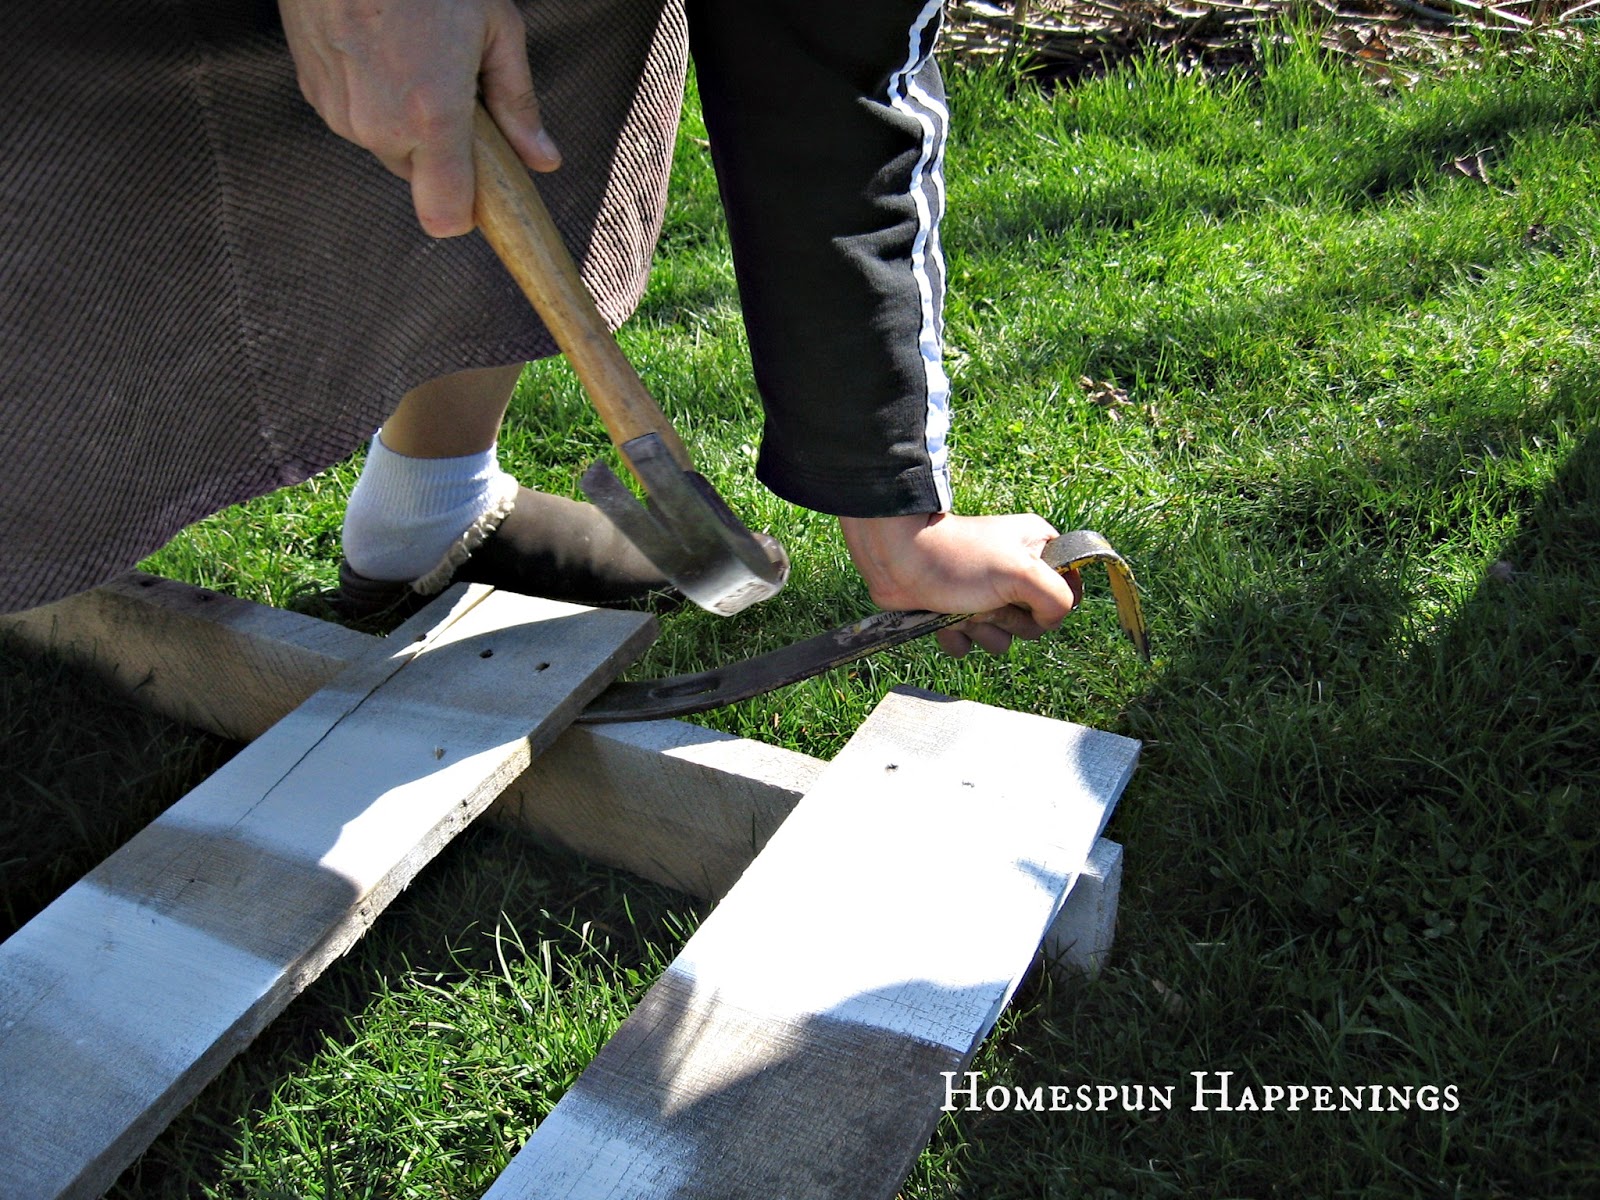
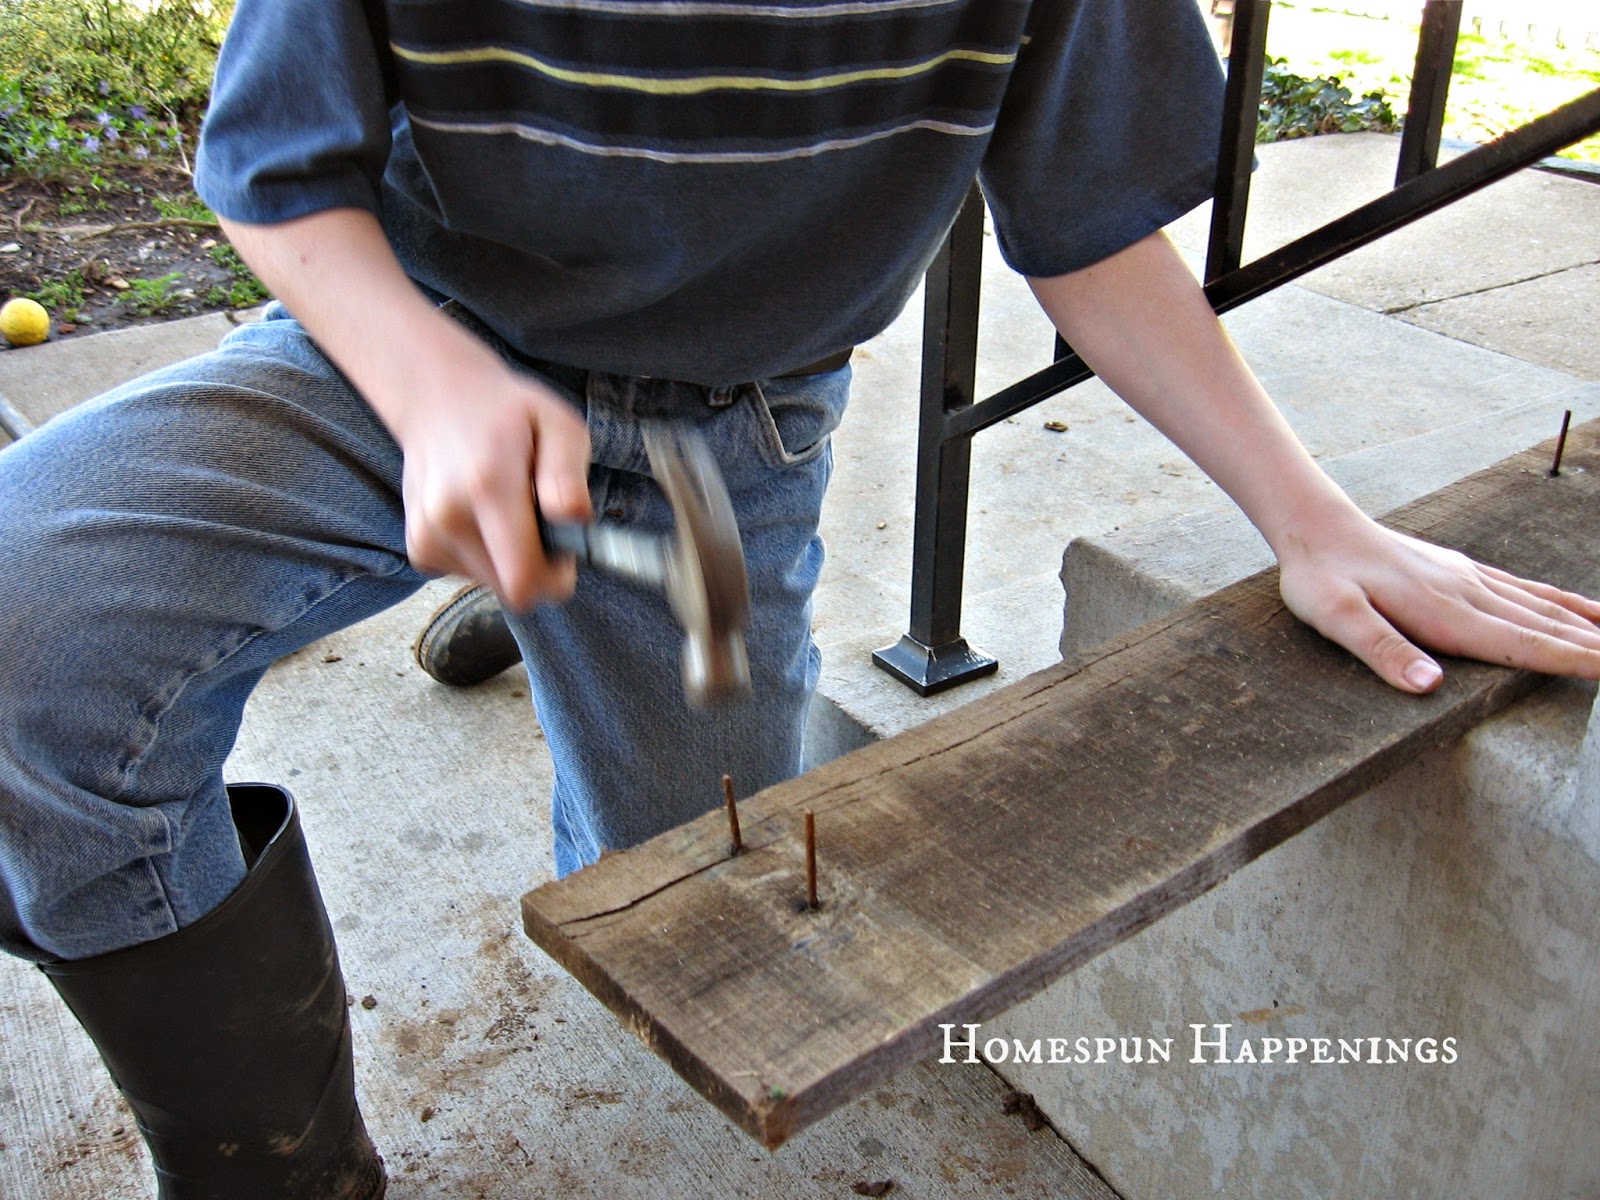
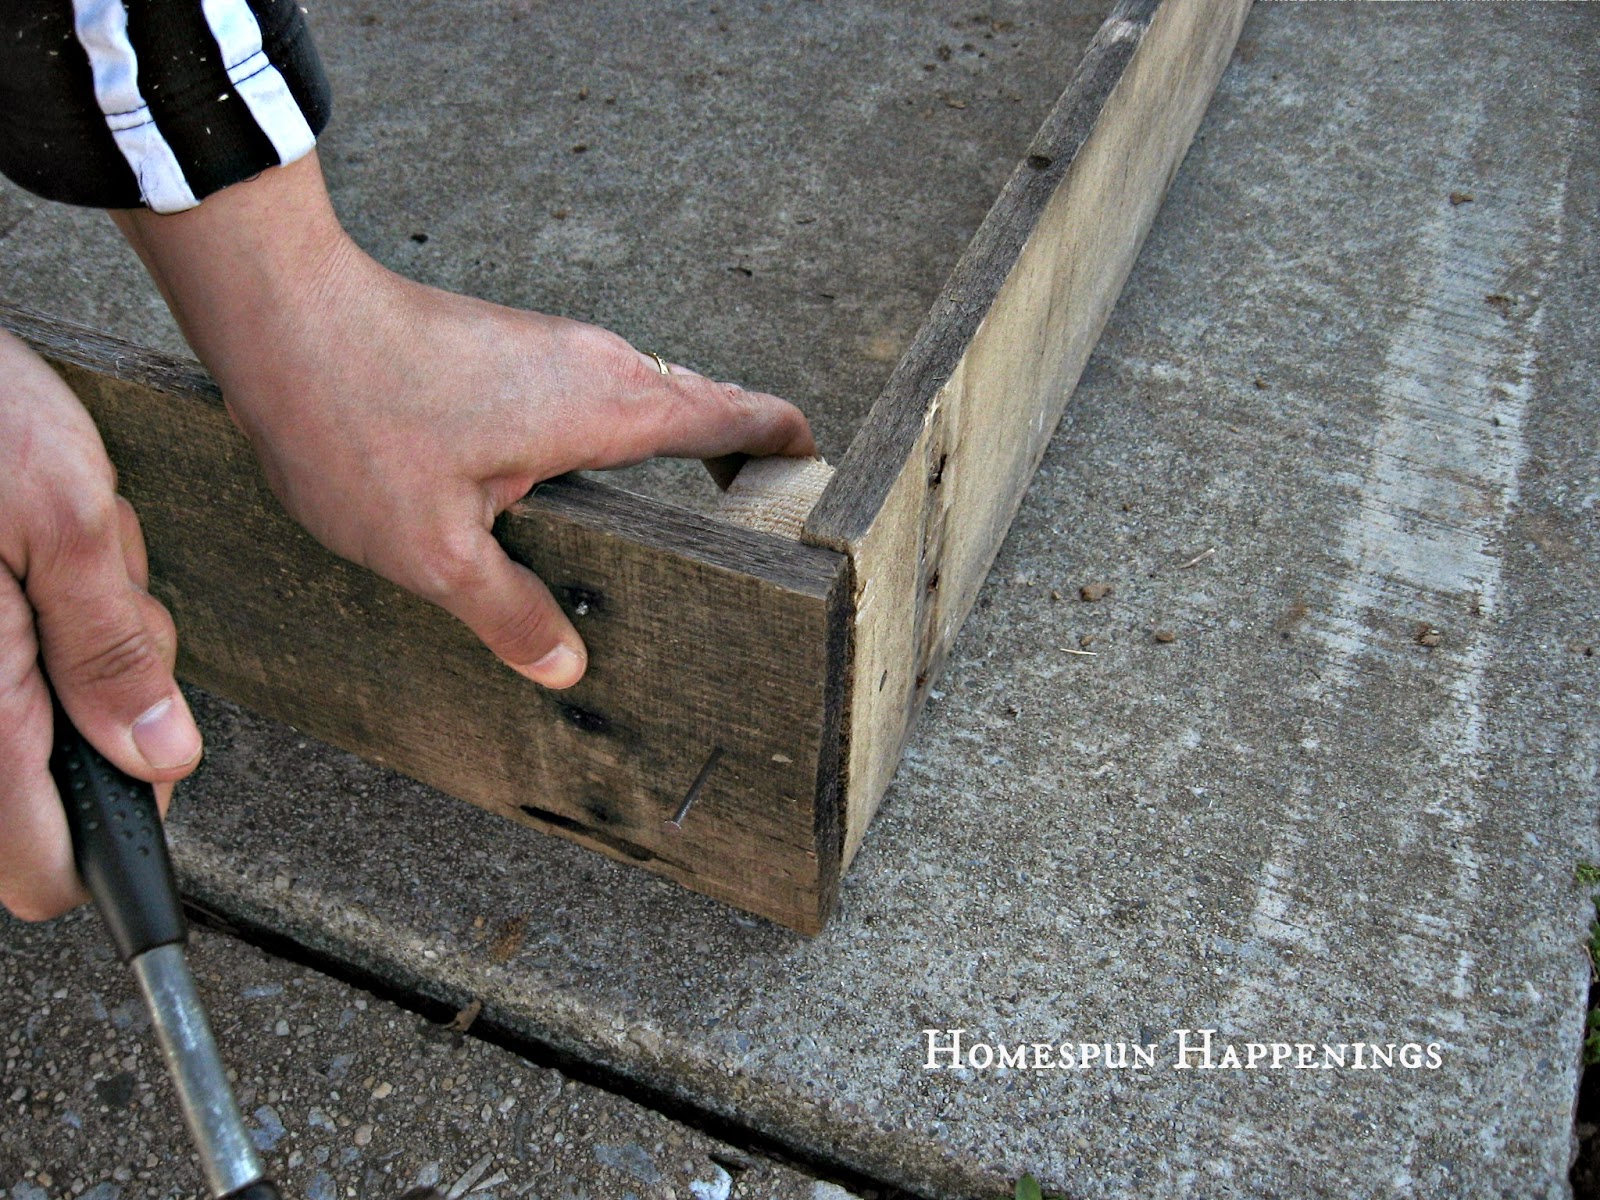
I used one of the boards from a pallet.
I painted it with my sample paint I had for my walls in our bedroom--a stone color.

The words were too big, but that was a good mistake.
I thought I could make the words "in the" smaller and with a different font.
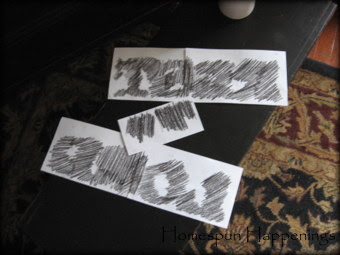 To transfer the lettering I colored on the back of the letters with a charcoal pencil.
I thought I could make the words "in the" smaller and with a different font.

I positioned it on the board where I wanted it and then tacked it with some painter's blue tape.

See, I told you I was a visual person.

It transfers the charcoal onto the board.


It is perfect!

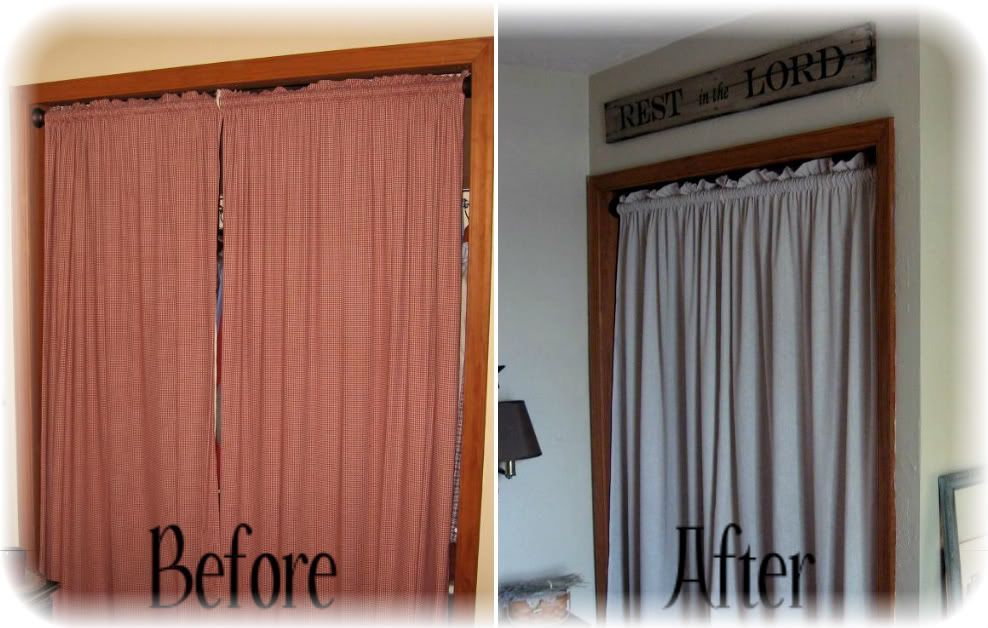
I hammered in the nails, hung up the sign, and it look crooked.
Apparently the guy who built the closet didn't level off things.
I had to mess with the nails so the sign didn't crooked with the ceiling nor the closet.
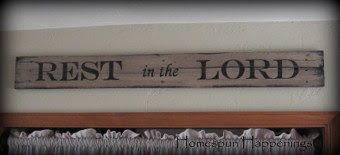
Apparently the guy who built the closet didn't level off things.
I had to mess with the nails so the sign didn't crooked with the ceiling nor the closet.

I also sewed some new Linen curtains.
I am loving the change in our bedroom.
I am loving the change in our bedroom.

Linked Up With: