"EXCEPT THE LORD BUILD THE HOUSE, THEY LABOR IN VAIN THAT BUILD IT"......Ps.127:1a
Showing posts with label Annie Sloans. Show all posts

Wednesday, October 9, 2013

Giving a Drop Leaf Table New Life

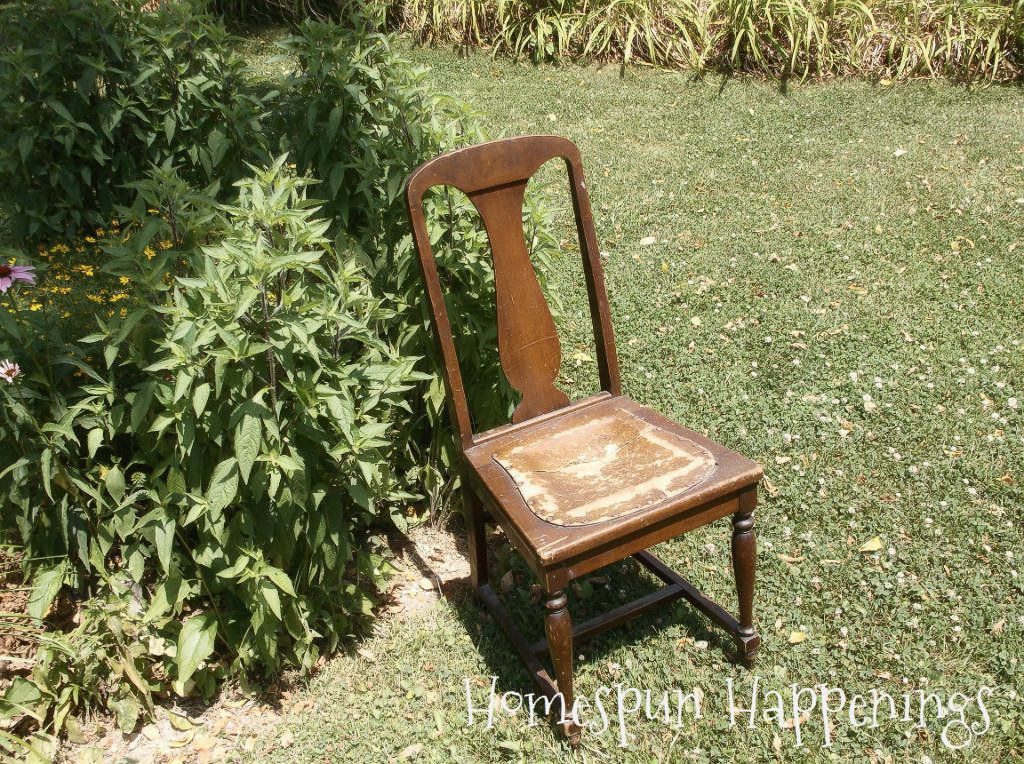
My cousin and his wife are such sweet people.  He knows my addiction love for refinishing things.  He gave me this table.  I knew it had such great potential.  It had tons of scratches all over it and some lovely purple nail polish.
I sanded the top, and the sanding went fairly easy.  I didn't get all of the scratches off, but I tried to get any names or initials that were carved into it off the table.
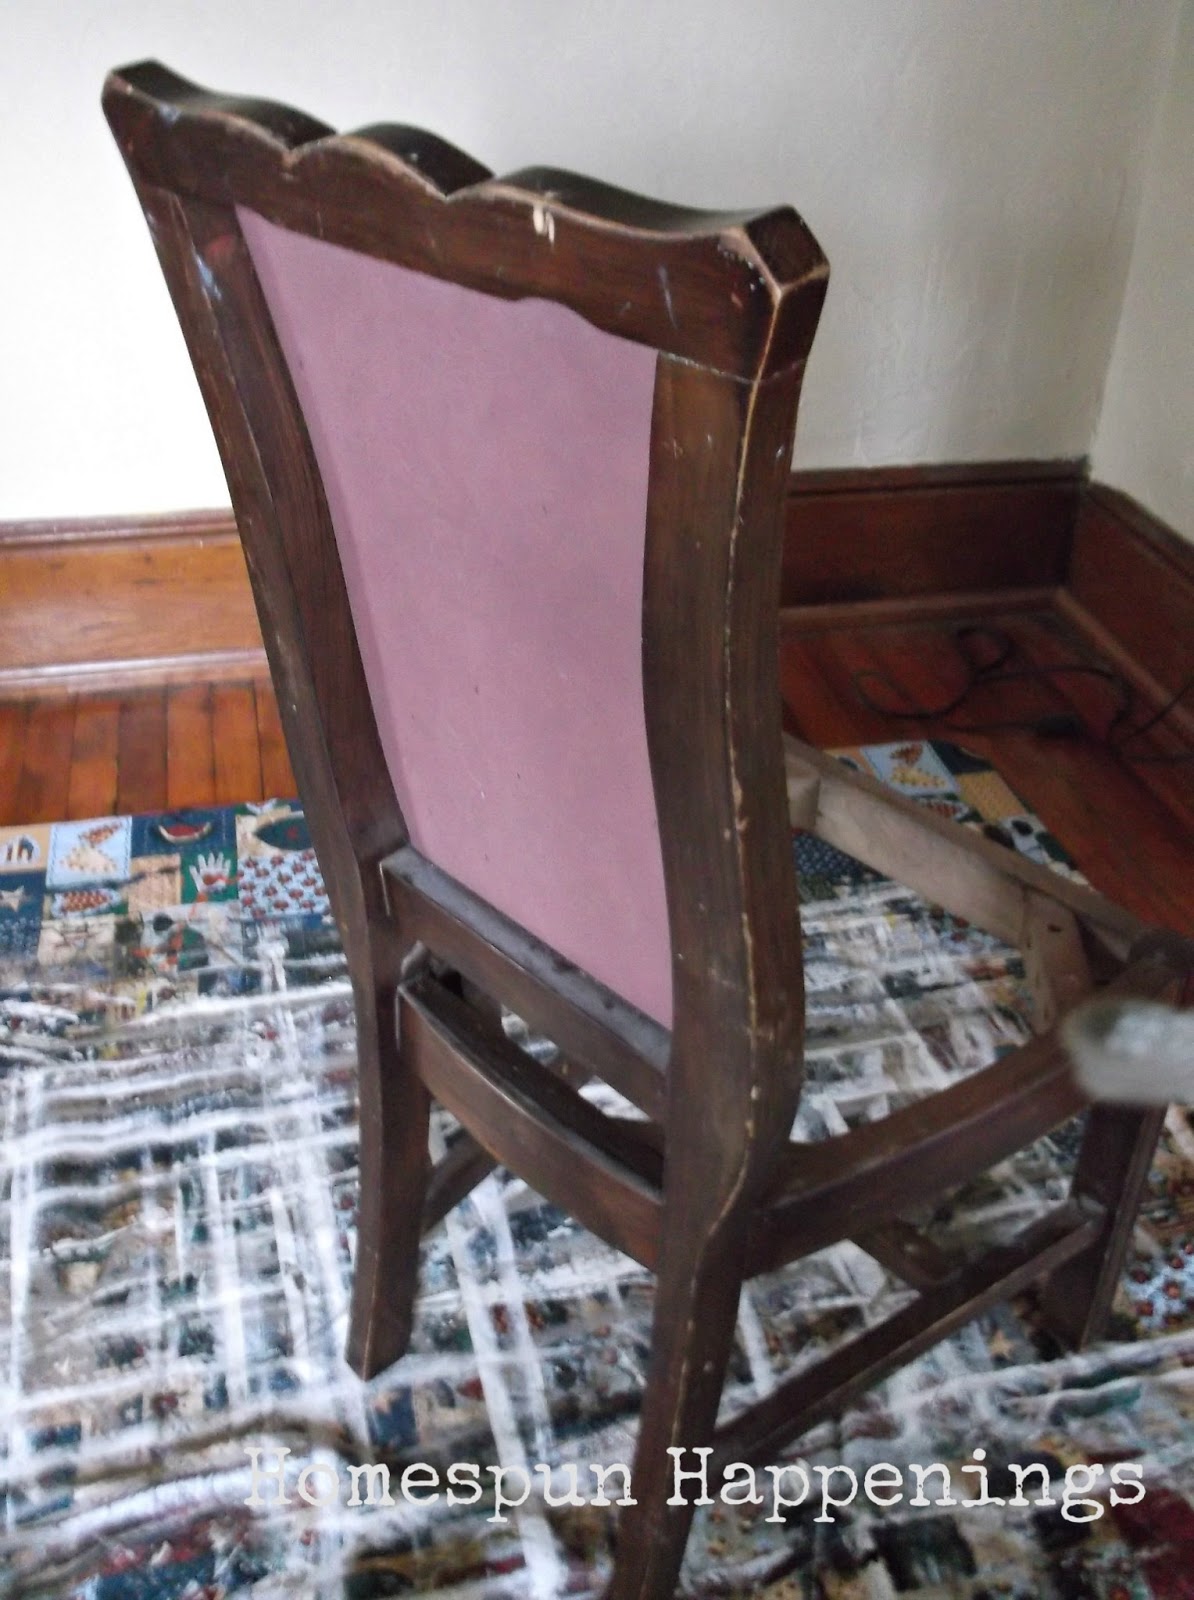
I removed the leaves to stain  the top.
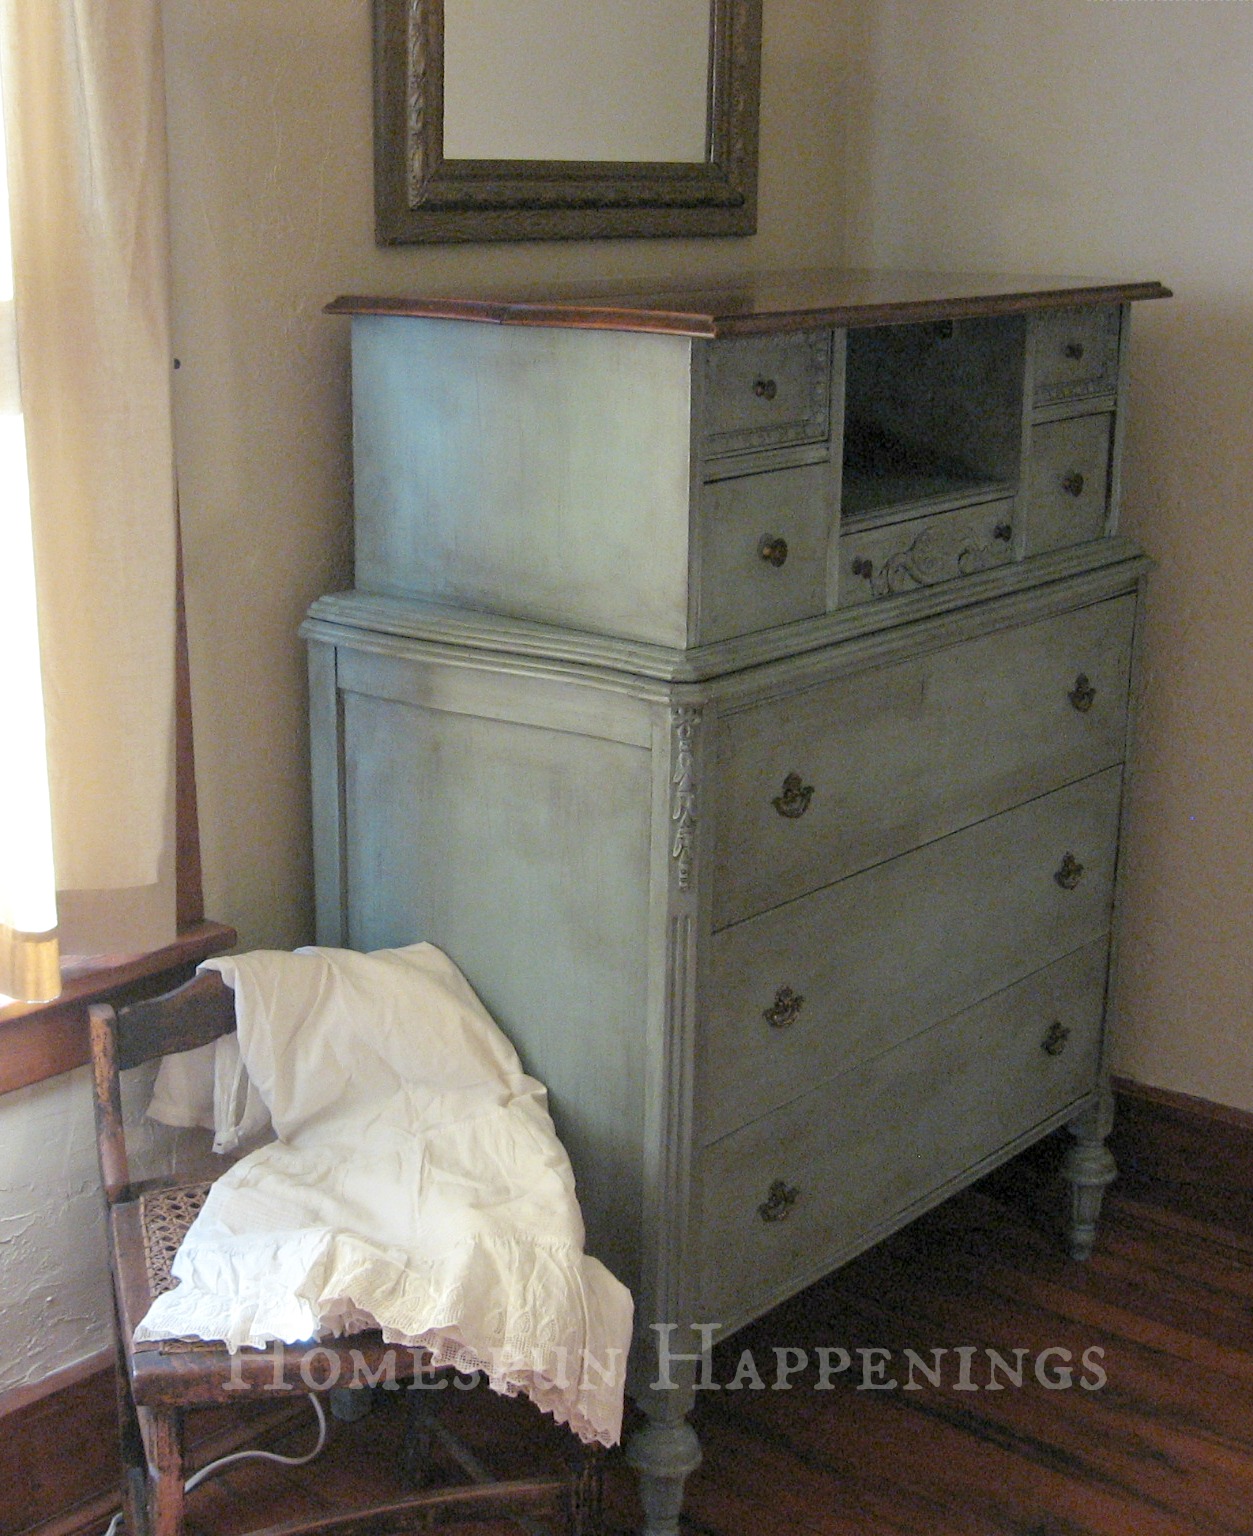
I stained it with 2 coats of Minwax's Dark Walnut stain.
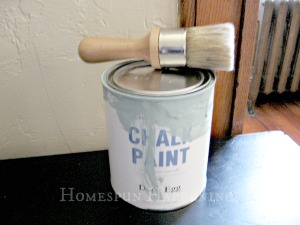
I painted the bottom part in Annie Sloans Old White.  I love chalk paint.  It took two coats and I hardly used up any paint.  Since I wanted it to look like an old farm table, I distressed it using clear and dark wax.  I did not distress it using sand paper, because I did not want the honey color coming through.
Here is a before and after pic.
I love how the scratches in the wood give it an old feel.
I finished the top using a product called Waterlox satin finish. It is recommended to be used on surfaces that will be used for food.  I also used Waterlox on my countertop, and it really has strengthened the pine wood.  I still need to do one more coat, but I couldn't wait to share it with you all.
I am going to try and sell this at my craft sale in November.

Linking Up With:

Thursday, August 15, 2013

What a Find!

We have not yet started school this year, which is late for me.  I have yet to purchase all of the school books.  I hope to do this Monday and hopefully start school at the beginning of September.  The kiddos are loving it.  I am loving this fall-like weather we have had for the past two weeks.  I am trying to get a jump on some of my roadside finds.  
I found this end table recently.  This is a pic of it after I cleaned it and my son sanded it.  I actually had started to stain the top when I took this pic.
End tables like these sell at our Amish markets for no less than $125.00.
I stained the top with dark walnut.  I also used Clear and Jacobean wax on the top.
I painted the bottom in Annie Sloan's French Linen and then waxed it with clear and dark wax.
This one is a keeper.  It is going in hubby's office.  
He also wants me to paint the other wing chair in French Linen.
I painted a swatch to see if he would like it.  He would rather me paint the chair than reupholster it.  
Hmmm..... This will be interesting.

Monday, July 29, 2013

Headboard Made from a Door

      Well, I finally did it!
After a year of holding onto a door that I found along side the road, I finally made a head board for my oldest son.  I can't actually say that I made it.  I designed it, and he cut it and nailed it together.
...I painted it :)

So I started with a full length wood door.  I really can't believe someone threw it away.  My son cut off the top panel of the door.  He then cut another inch and a half off of each end.  I was pretty impressed at how straight he cut it.
We took some old trim and baseboard scraps I hoarded saved and added some architecture to the door.  This door already had great panels.  It just needed a little more character.

I couldn't believe my ears when it came time to paint it.  He wanted Annie Sloans French Linen!  He is usually a black paint kind of guy.  He likes things to look rich.  I think my primitive cottage look is rubbing off on him :)
This is after I waxed it with clear and dark wax.

I wasn't brave enough to take a pic of his room today.
That will have to come in a later post.
I love the way it turned out!

If you can't find a great door to use try this Simple Headboard idea I found at one of the blog parties a couple of years ago.
Thanks, Pam!

Tuesday, June 18, 2013

Dresser in Linen

I've been wanting to paint this dresser for a long time.  I bought it right after I graduated from high school in 1995.  I finally decided that Annie Sloans' Linen was the color I wanted it to be.
Now before anyone gets too upset that I am painting a lovely wood dresser, I thought I'd share with you some of her blemishes that I've lived with for years.
I covered them up with linens on top of the dresser now I am ready to clothe her in 'Linen' and some dark wax.
I love how the dark wax just enhanced her natural beauty :)
I am really pleased that the hardware looked great against the Linen.
Sigh!
Simple and Lovely!

Monday, June 10, 2013

A New Linen Look and a Tip for Making Your Own Piping

Remember these?
The one chair was a roadside find, and the other was my craft chair.
I am gearing up for some slip covering, but I thought I would try a little reupholstering.  I used a 7 oz. canvas drop cloth.
For this chair back, it was not worth taking out the back vinyl part, so I painted it with AS French Linen.
I then did a white wash over the linen.
For the front of the chairback, I used the old vinyl as a template and then stapled it inside over the existing foam pad. 
I then stapled some batting and drop cloth over the foam on the chair's seat.
Making sure to stretch opposite sides and corners.
For the piping I bought a $1.50 clothesline.
I measured around the edges.
Tore a 2 in. canvas strip, wrapped it around the clothesline, and with a zipper presser foot I sewed and made the piping.
I attached the piping with a staple gun to the bottom of the upholstered seat.
I also stuffed it in along the edge of the chair back and glued it.
They turned out wonderful.
I wanted to make it look like old linen, so using some frog tape and watered down acrylic paints; I made some "linen" stripes.
After it was dried, I ironed over the paint to help it stay in the fabric.
I love them!
Ms. vanity sold at my sale this past weekend, but the lady didn't want a chair.
I really thought either chair would have worked well with her.


Tuesday, September 18, 2012

What I Painted with One Can of Annie Sloan's Chalk Paint

I thought I would do a post to show you all how far a can of Annie Sloans Chalk Paint went for me.  I just used up my can of Duck Egg.  Well, I could probably still paint a picture frame or something small with what is left in the can.

I think people apply paint differently.
 I will share with you how I used this can.  Some projects took one coat while others took two.
*Warning*
There are a lot of pictures in this post.
I wanted this color as an accent color in my bedroom.
So I did just that.
Here I painted a pair of gold medallions that were at the foot of my bed.
I used 2 coats.
I painted a small wood bowl that I use on my dresser to hold odds and ends.  The bowl was a hunter green, so I only painted 1 coat over the hunter green and distressed it to let the dark come through.  You can't tell that it use to be hunter green.
This was a gold picture frame.
I only used 1 coat on this because I also wanted that to come through as I distressed it.
My dresser was the first piece of furniture I painted Duck Egg.  It had laminated type wood on the sides.  I noticed that Chalk Paint spreads really well on shiny surfaces.  I had taken the chipped laminate off of the front of the drawers, so the wood soaked the paint up more on them.  I used 2 coats of paint on this, however I was not so picky about it being totally perfect because I don't like perfect--I like distressed pieces.
My next furniture piece was this roadside rescue rocker.
It got 2 coats--again not perfect just filled in the center seat and let the edges go with less paint.
Our night stands only got 1 coat of paint because the base was black, and I wanted the black to come through when I distressed them.
Ms. Vanity was hard to paint.  I suggest you don't sand when using Annie Sloans.  I had to sand some bad stuff off of this piece.  The wood just really soaked up the chalk paint.  It took 2 very thick coats of paint.  It was really hard to smooth it out.  I probably should have added some water.
This window took 2 coats of paint, but the paint went far because of the smooth surface.
My final project was these swivel counter chairs.  They had a coat of shiny white paint on them.  I did use 2 coats of Duck Egg, however I still left some white show through.
There ya go.
I feel like I got my money's worth.
If you are very picky about having every inch of furniture painted perfectly and totally covered, you may use more paint than I did.

Linking up With:

My Monday Muse